best hair dryer
Happy Friday ya'll! I've been getting alot of requests recently for a hair tutorial. I have a curling hair tutorial in the making, which will hopefully be a video! But, there's a very important step that comes before the curling iron and that is: the blow drying.Like any other girl, I used to despise drying my hair. It takes forever, it's somewhat exhausting, and I end up sweating after I just showered. So for a while now, I'd been on the hunt for the best hair dryer. One that would dry my hair quickly, and do as little damage to my hair as possible.Enter T3. This hair dryer isn't cheap, but it has totally changed my attitude towards drying my hair. First of all, it cuts the time in half that I spend drying it. Second of all, it's not damaging to your hair like most hair dryers. There's so much technology behind this thing, it's not even funny. But it's clinically proven to be healthier than air drying, with up to: 73% reduction in frizz, 86% increase in body, 19% increase in shine, 33% increase in comb-ability and 48% increase in style retention. It also uses SoftAire which generates a greater volume of air and weaves through the dryer at the ideal heat and speed for faster and healthier drying. Oh, and it has a 2-year warrantly. So it actually is the best hair dryer ever.Here's a little step-by-step I put together for you to show how I blow dry my hair at home!
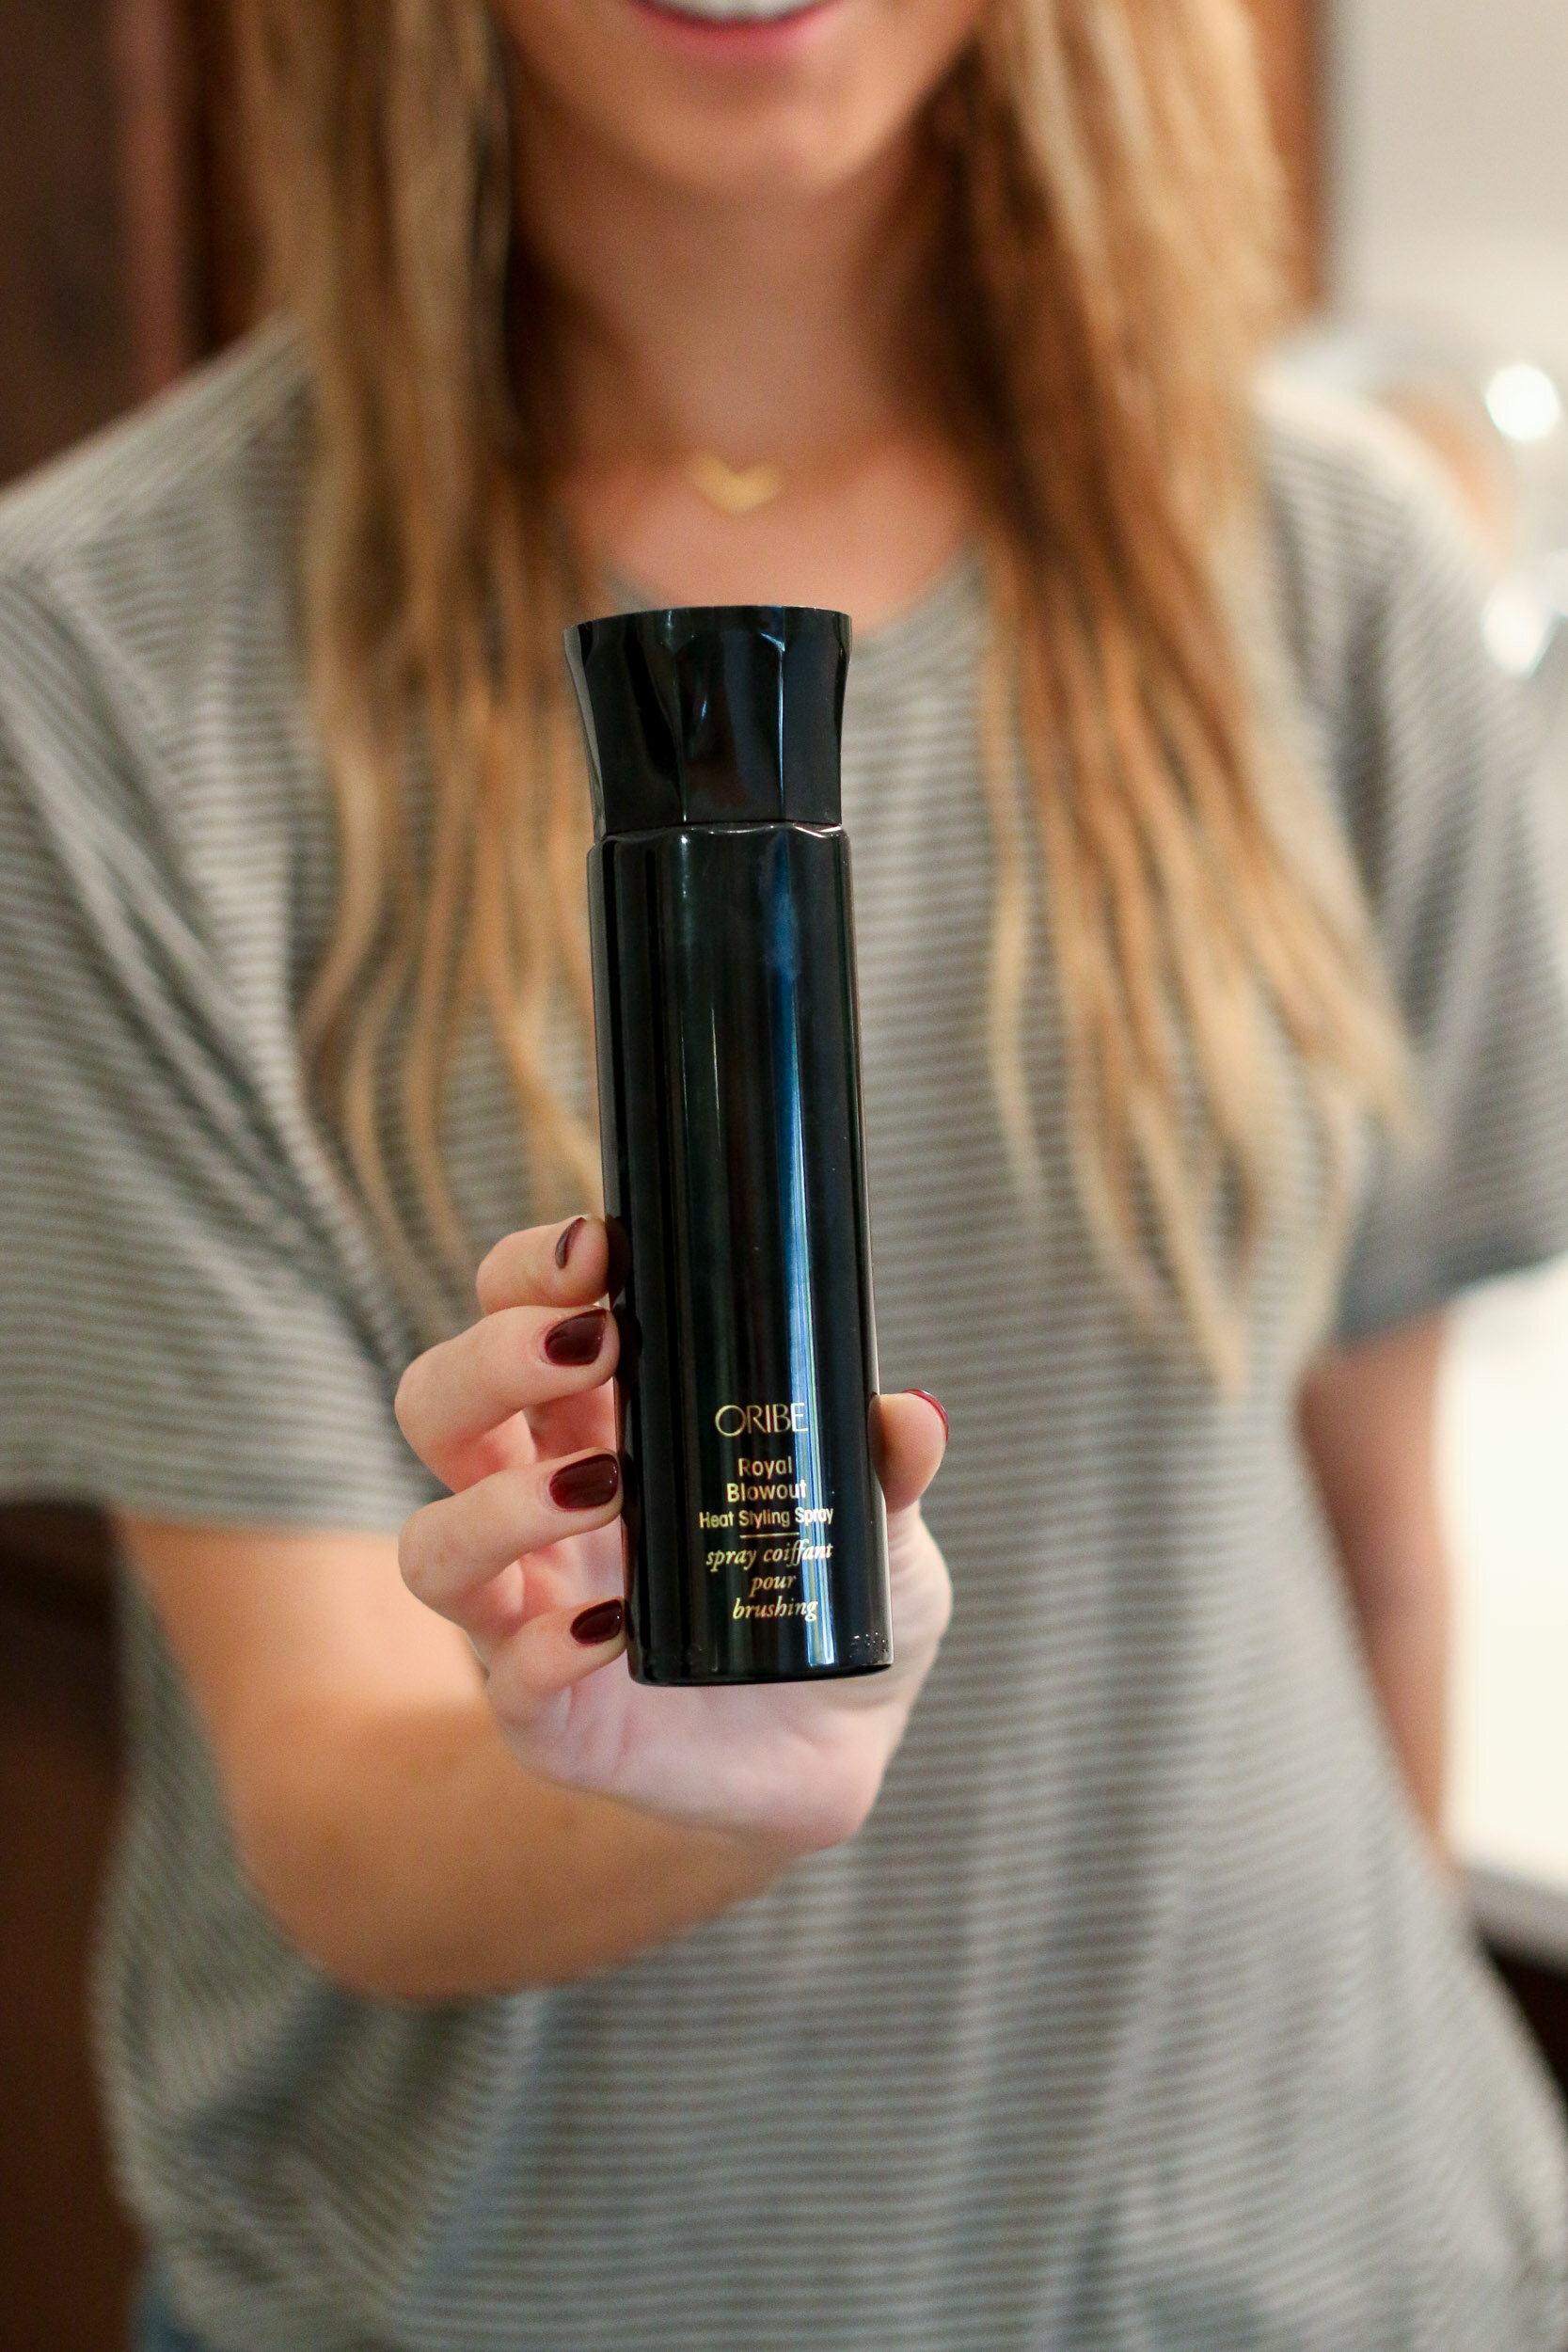

 First of all, I swear by this Oribe Royal Blowout spray. I call it a miracle in a bottle! It somehow makes your hair dry faster, protects it from heat, provides moisture, and helps seal split ends all at the same time. Worth it. So, step 1 is, while your hair is still wet, use this spray (or another heat protecting spray) from mid-shaft to your ends (really focusing on the ends). Comb through (my favorite comb & brush is a wet brush).
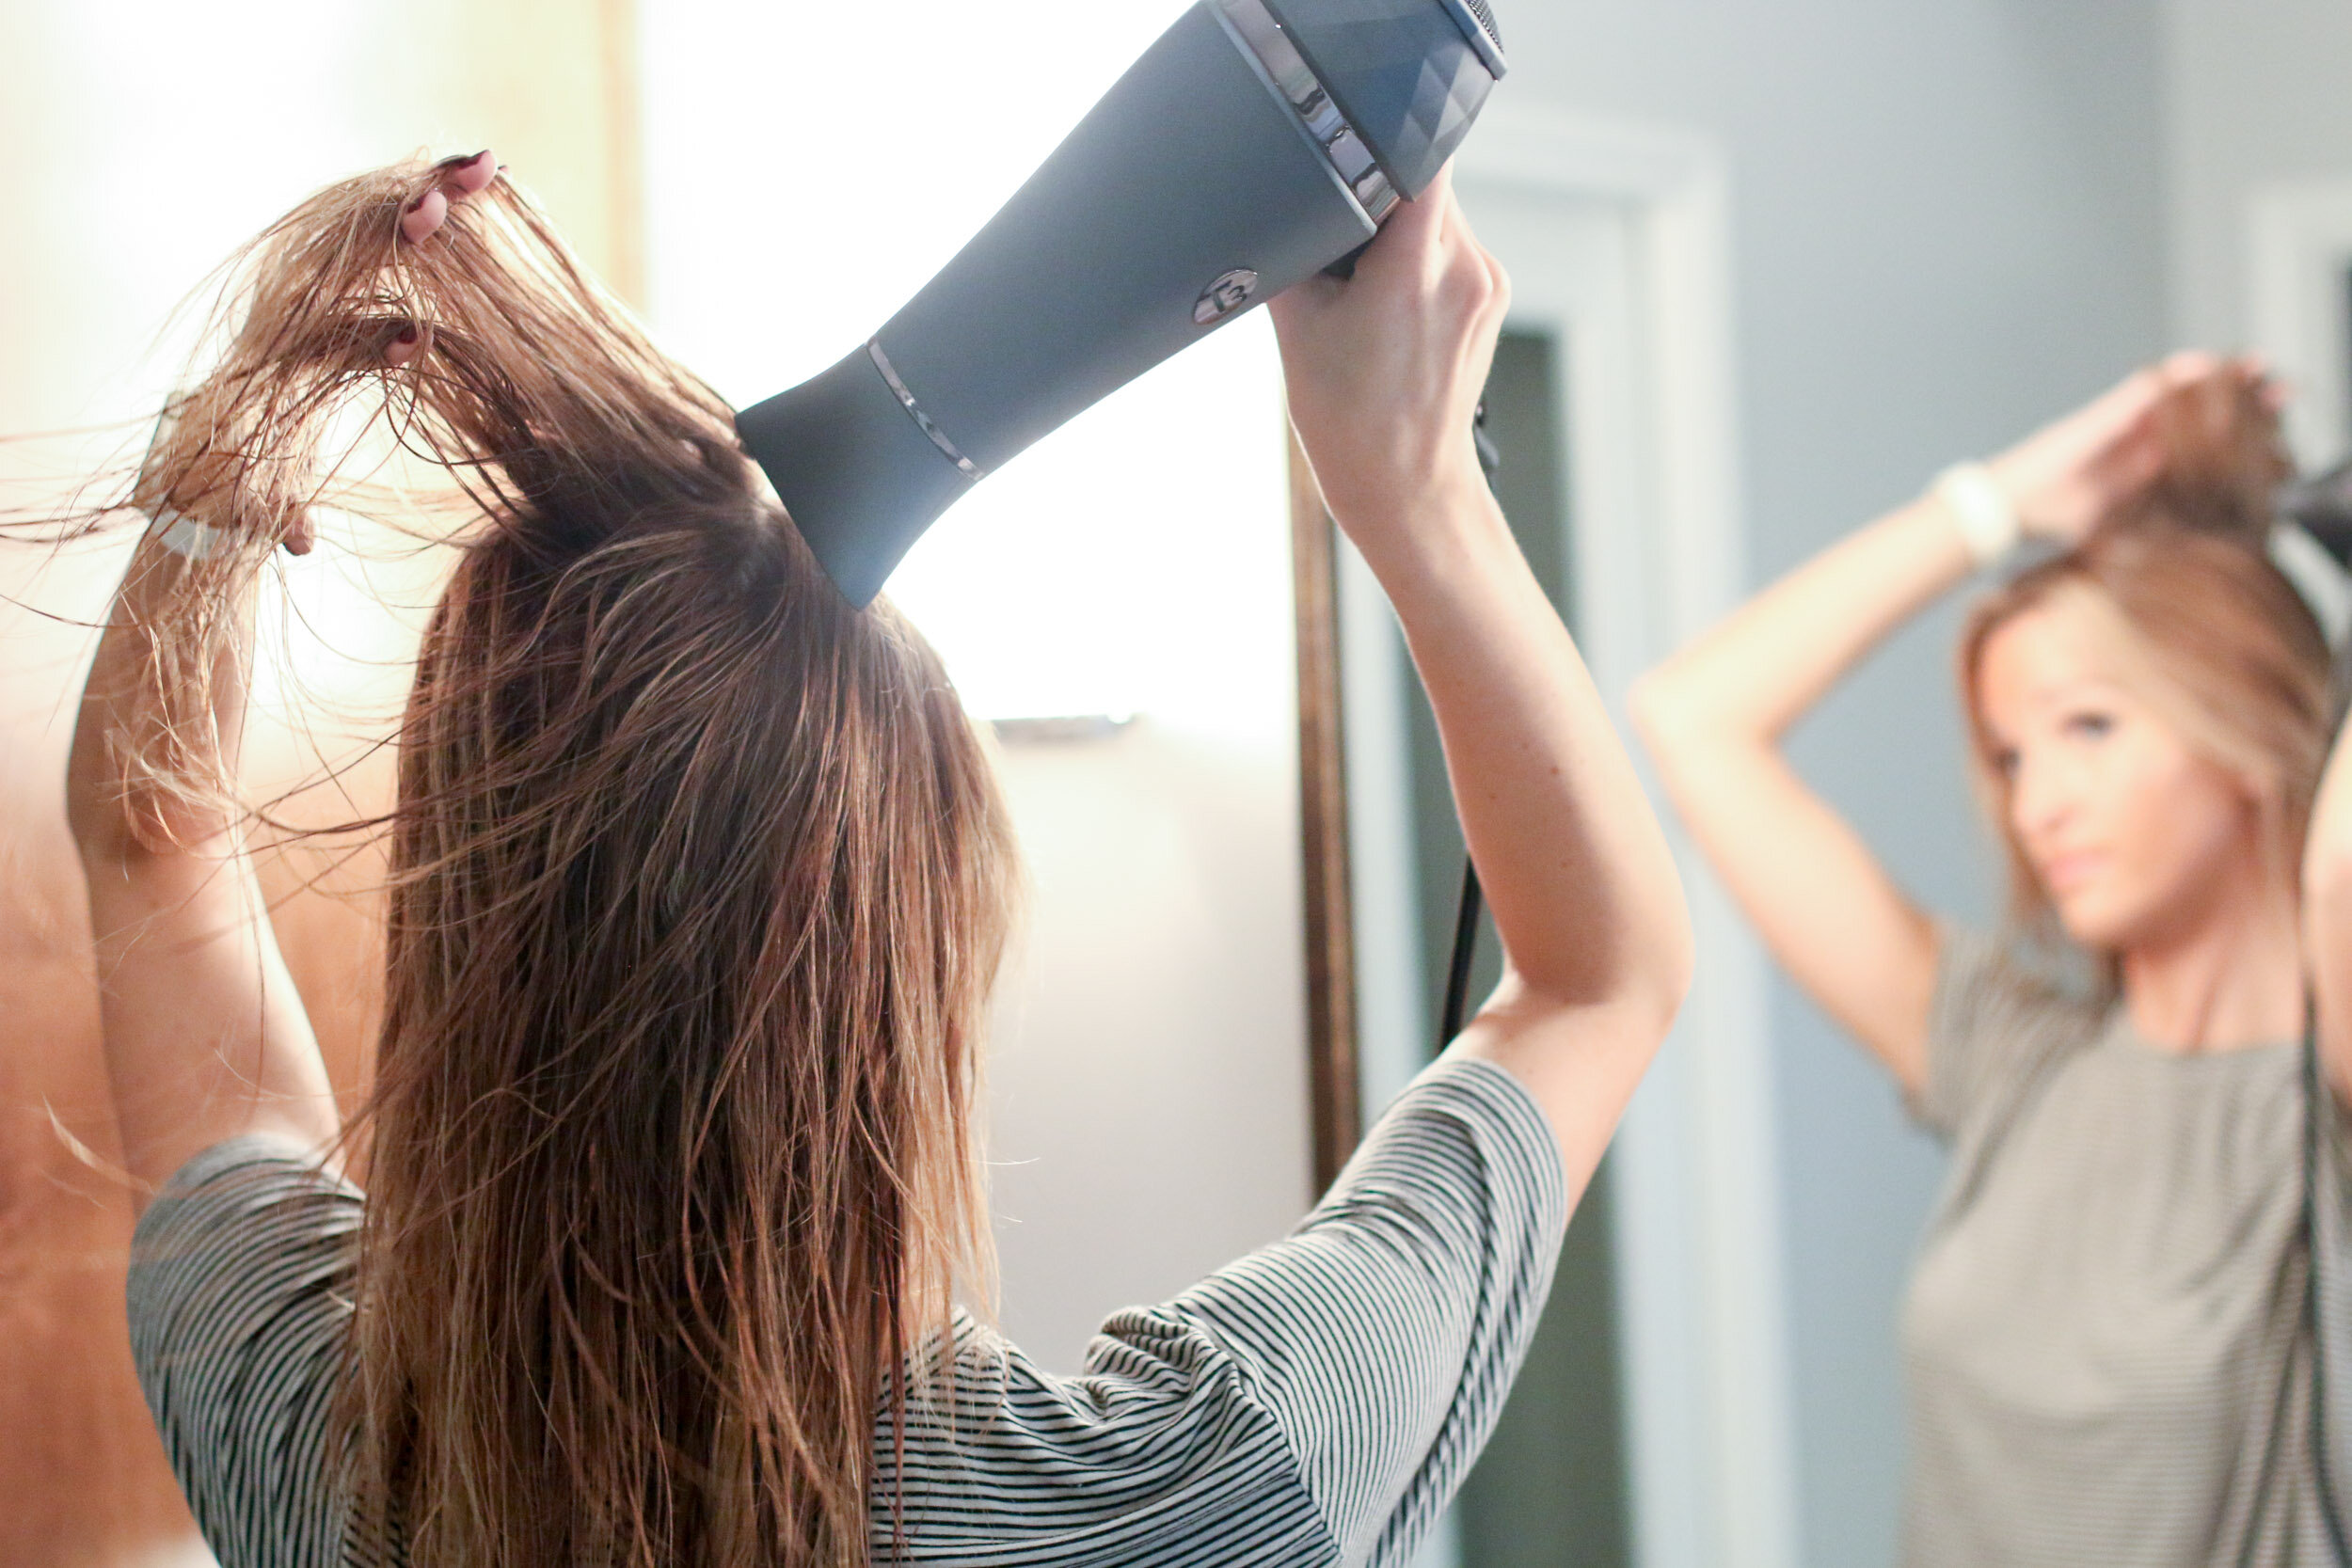
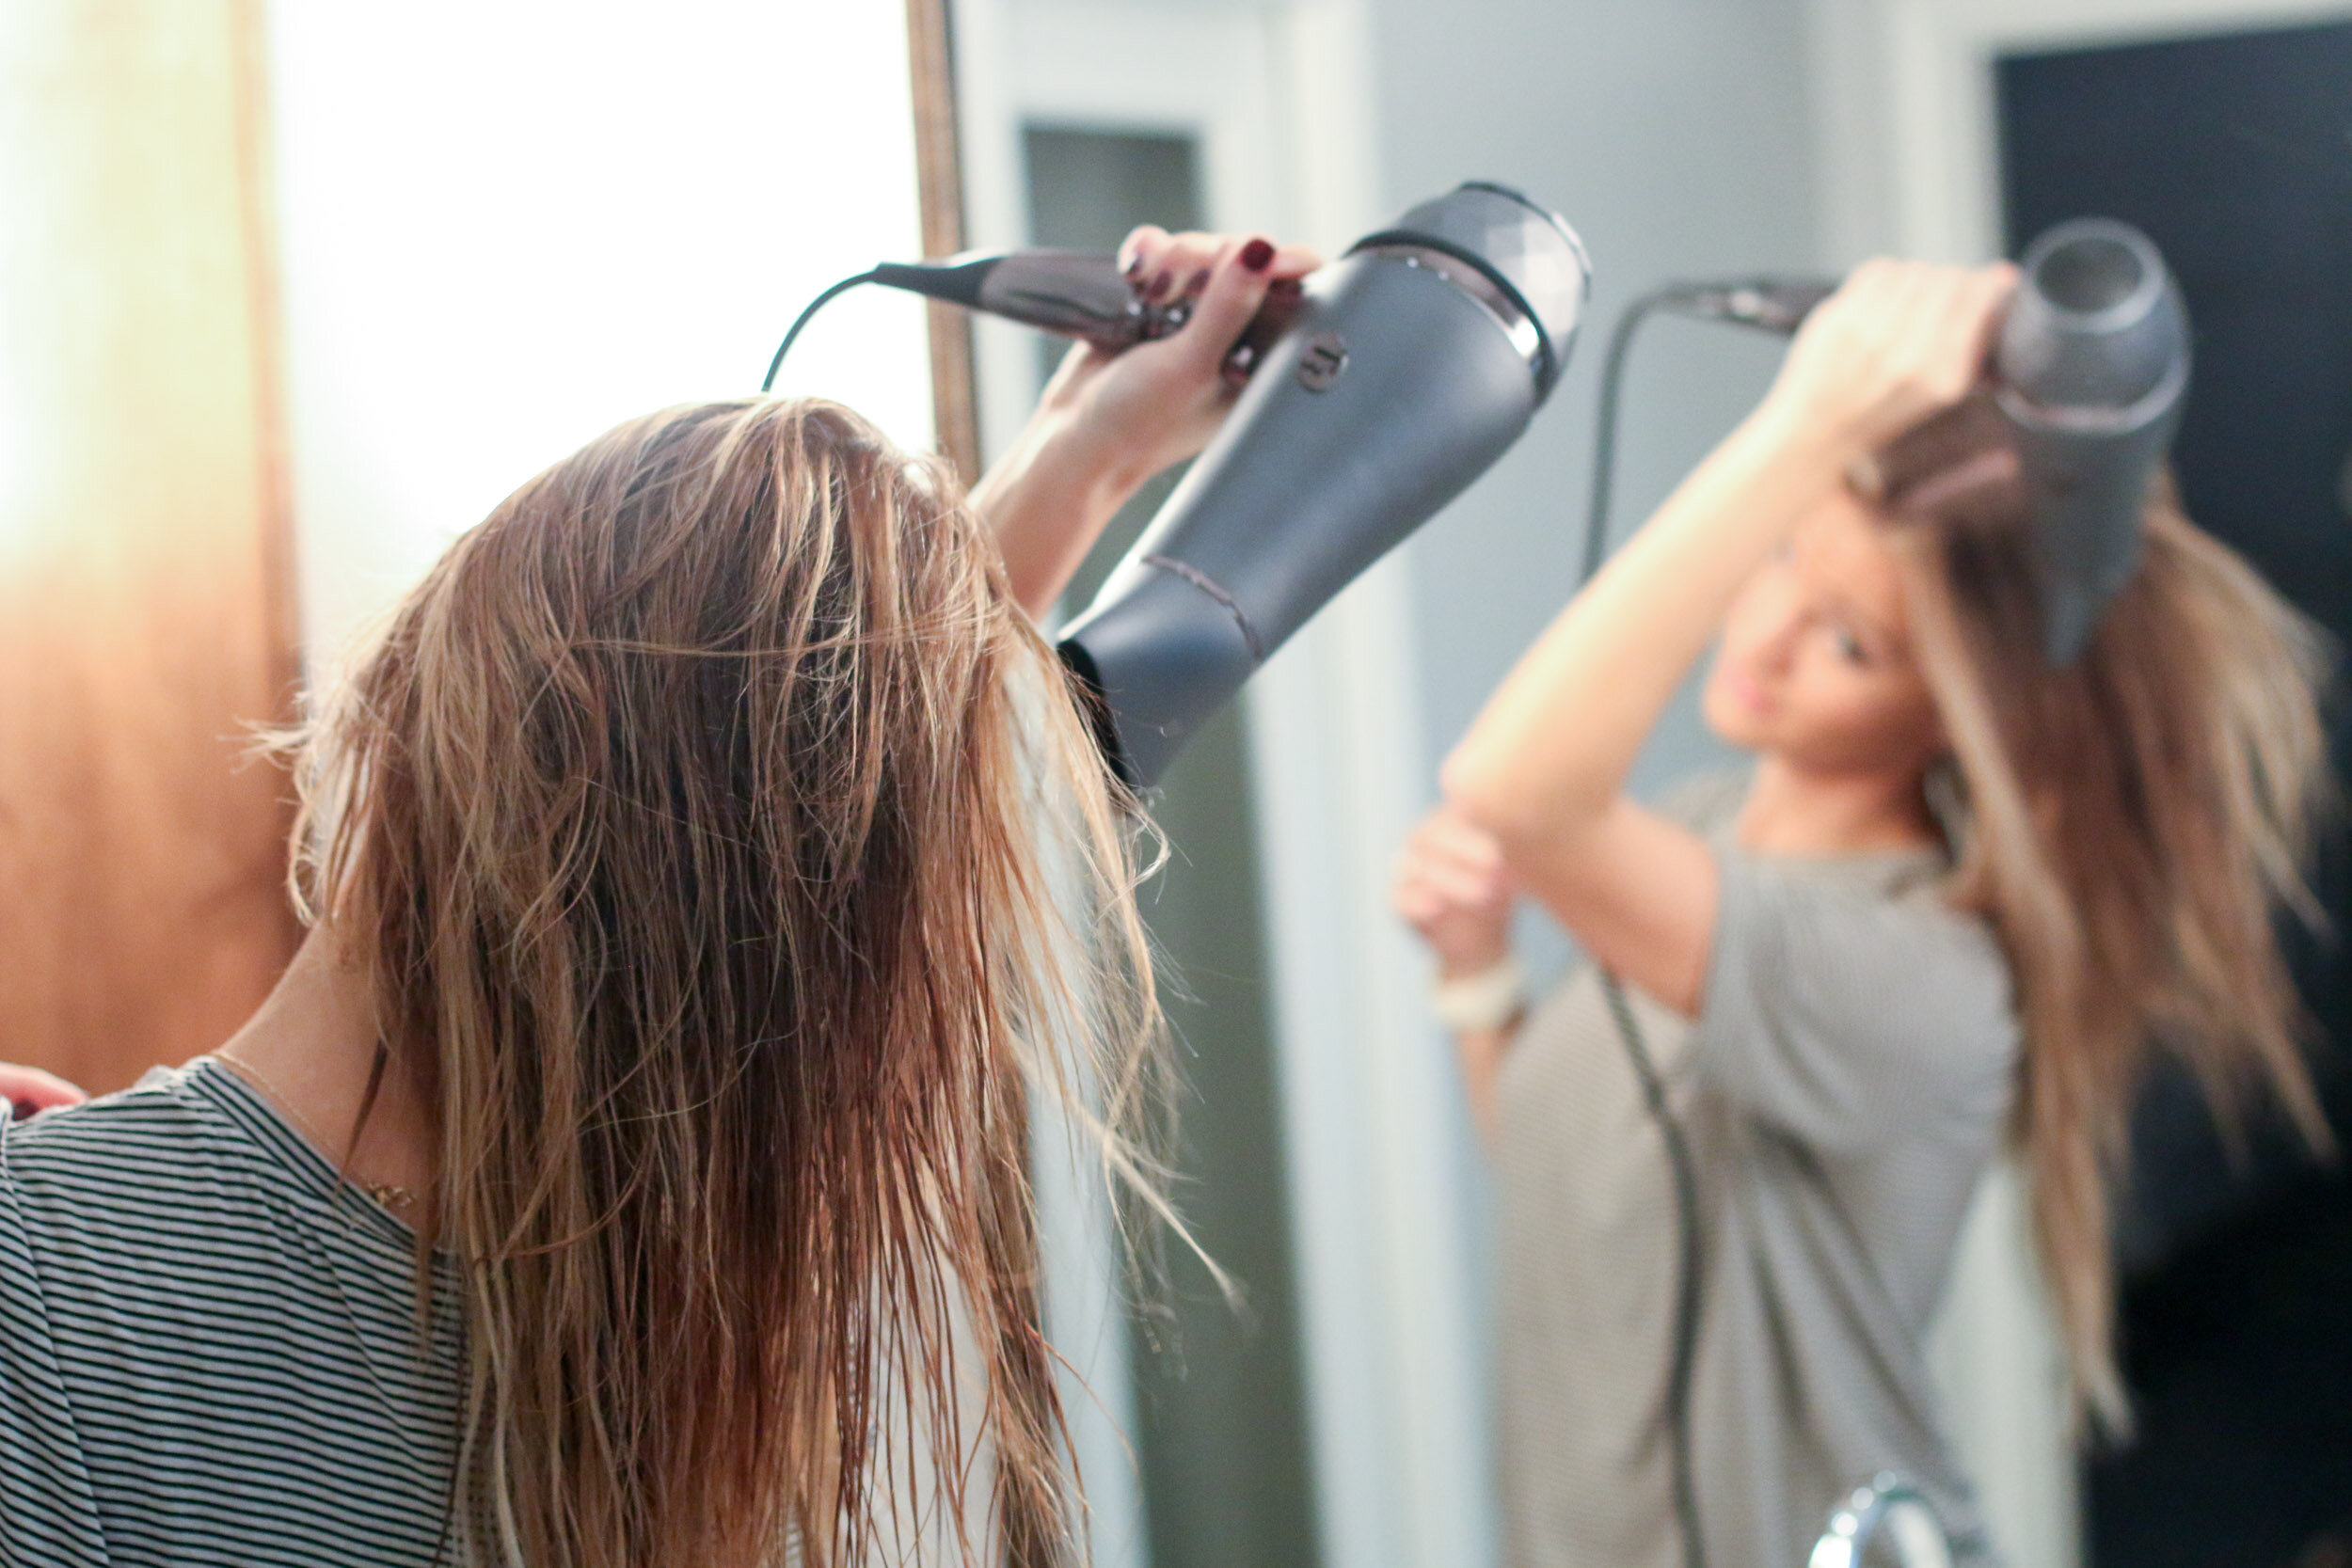 Next step is to just power dry all of your hair without a brush. Just get as much of the intial moisture out as possible, before you actually start styling it. I blow dry my hair on the highest heat setting and highest power setting.

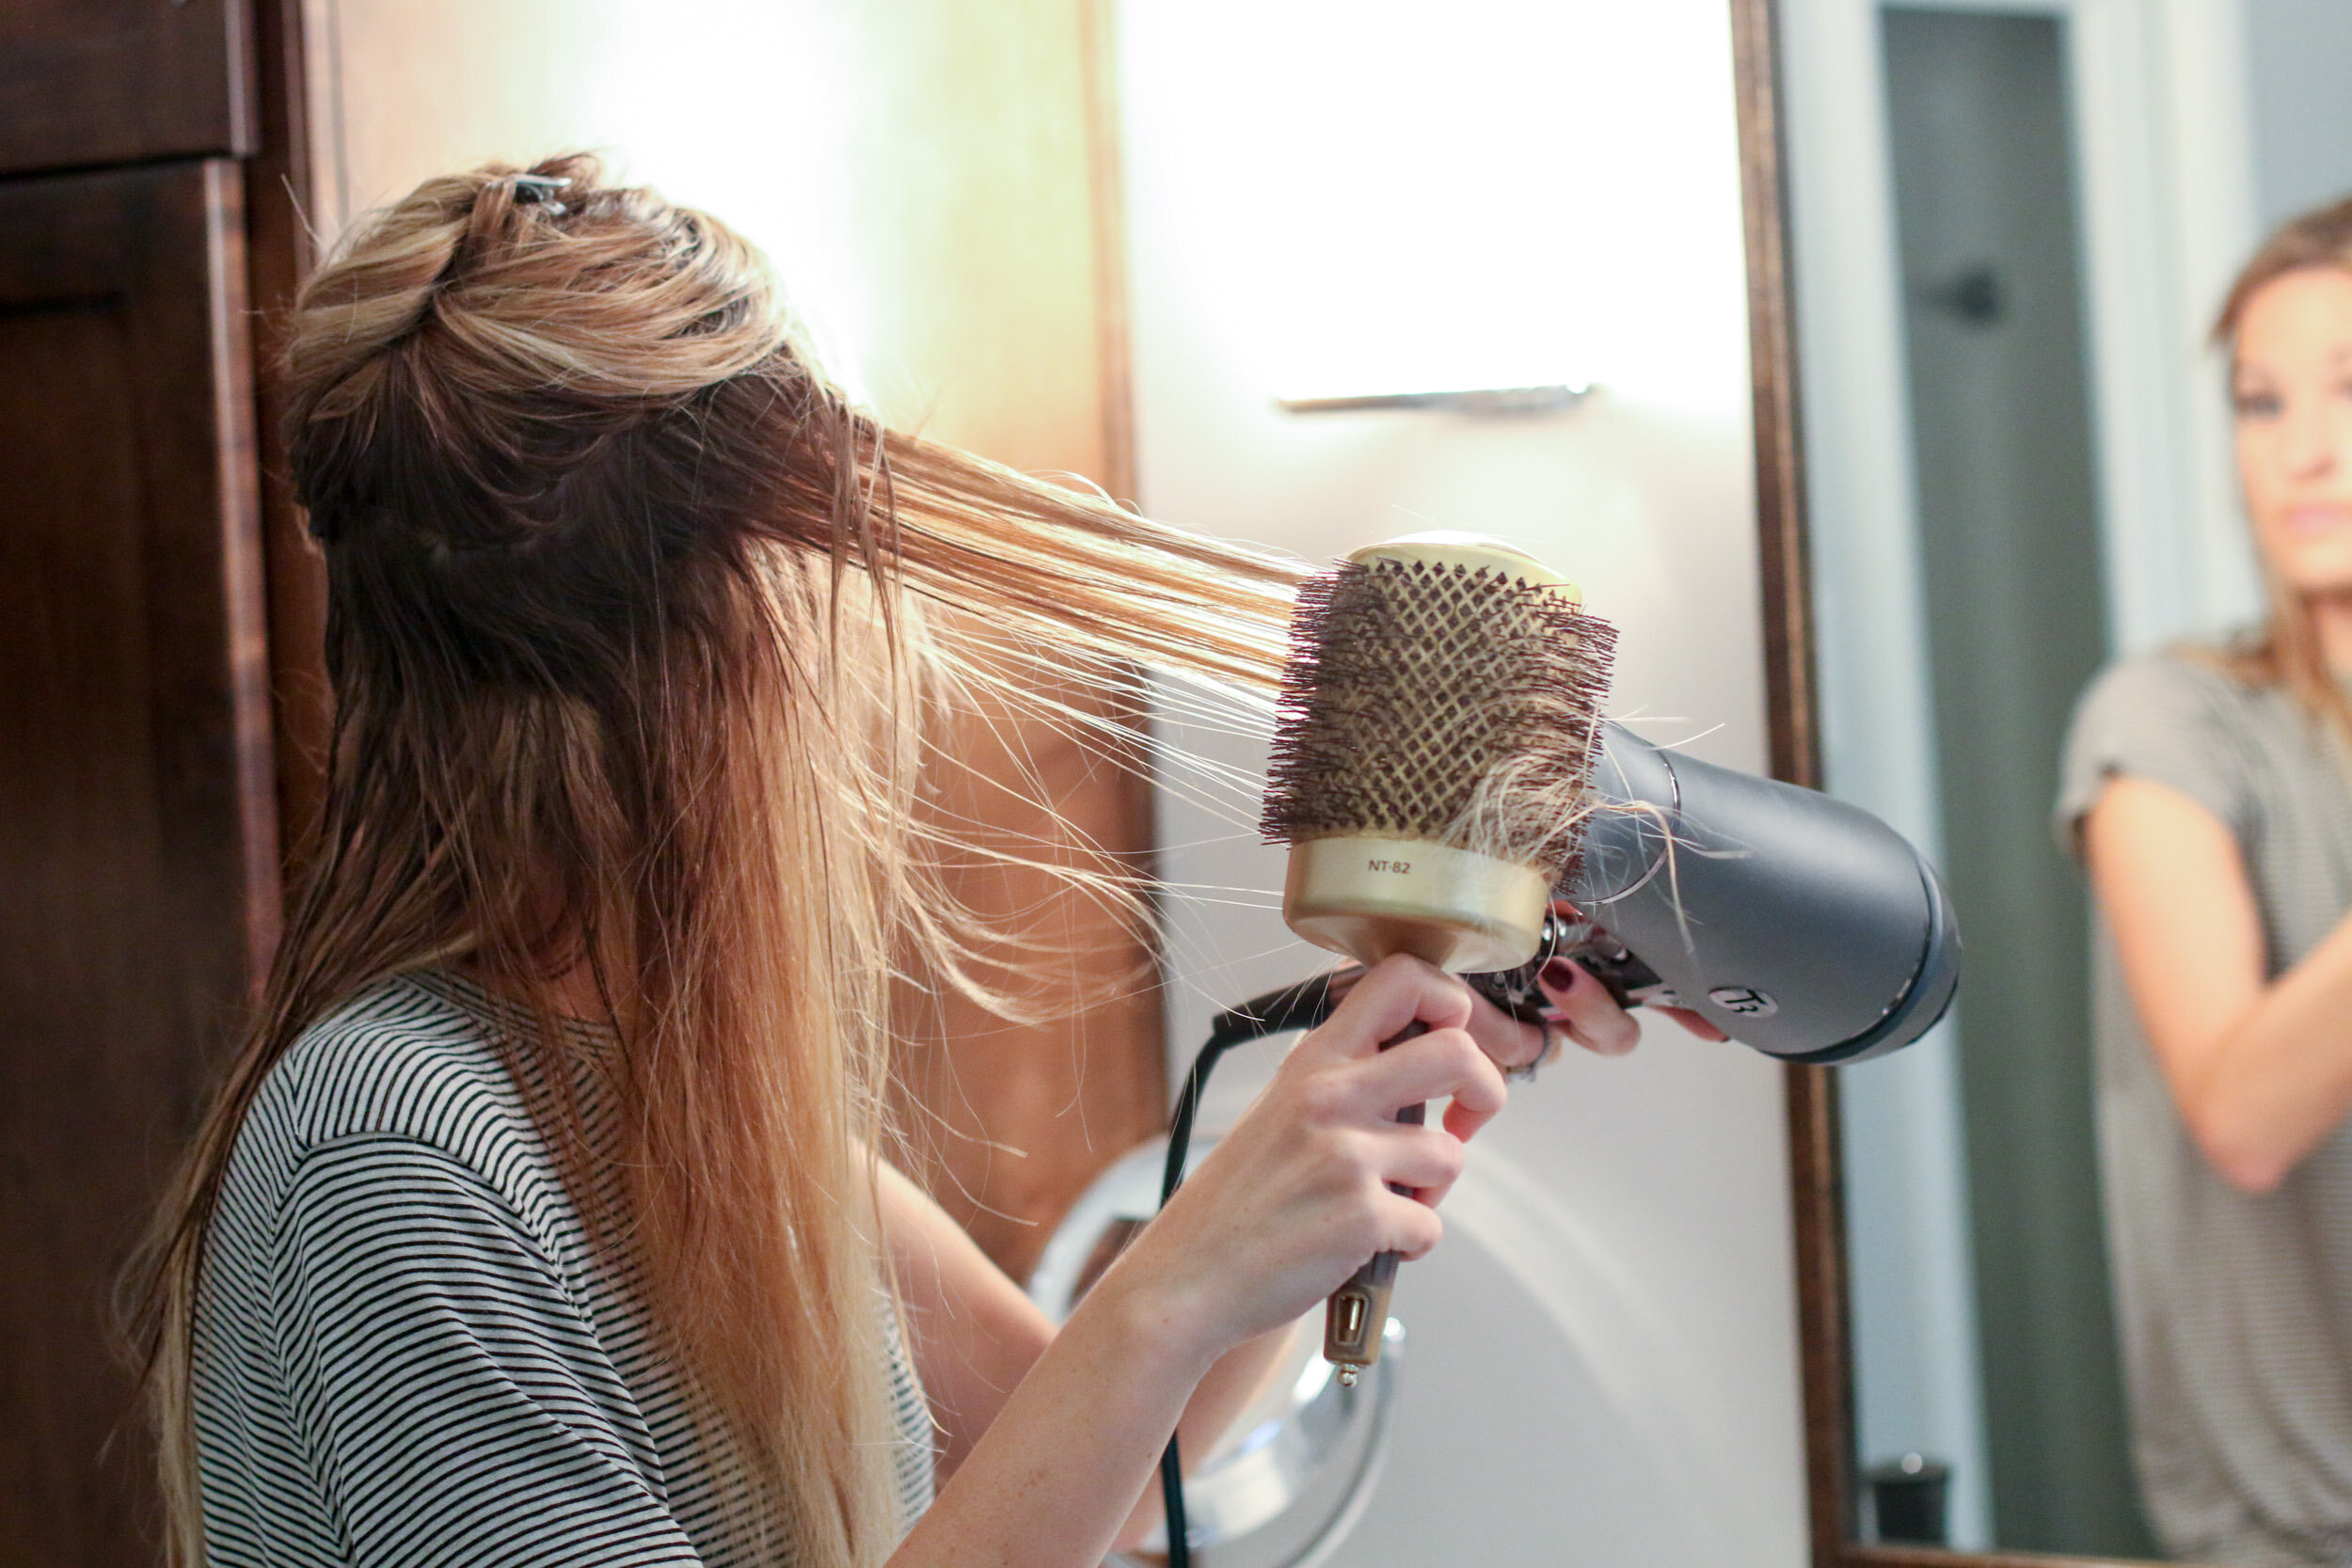
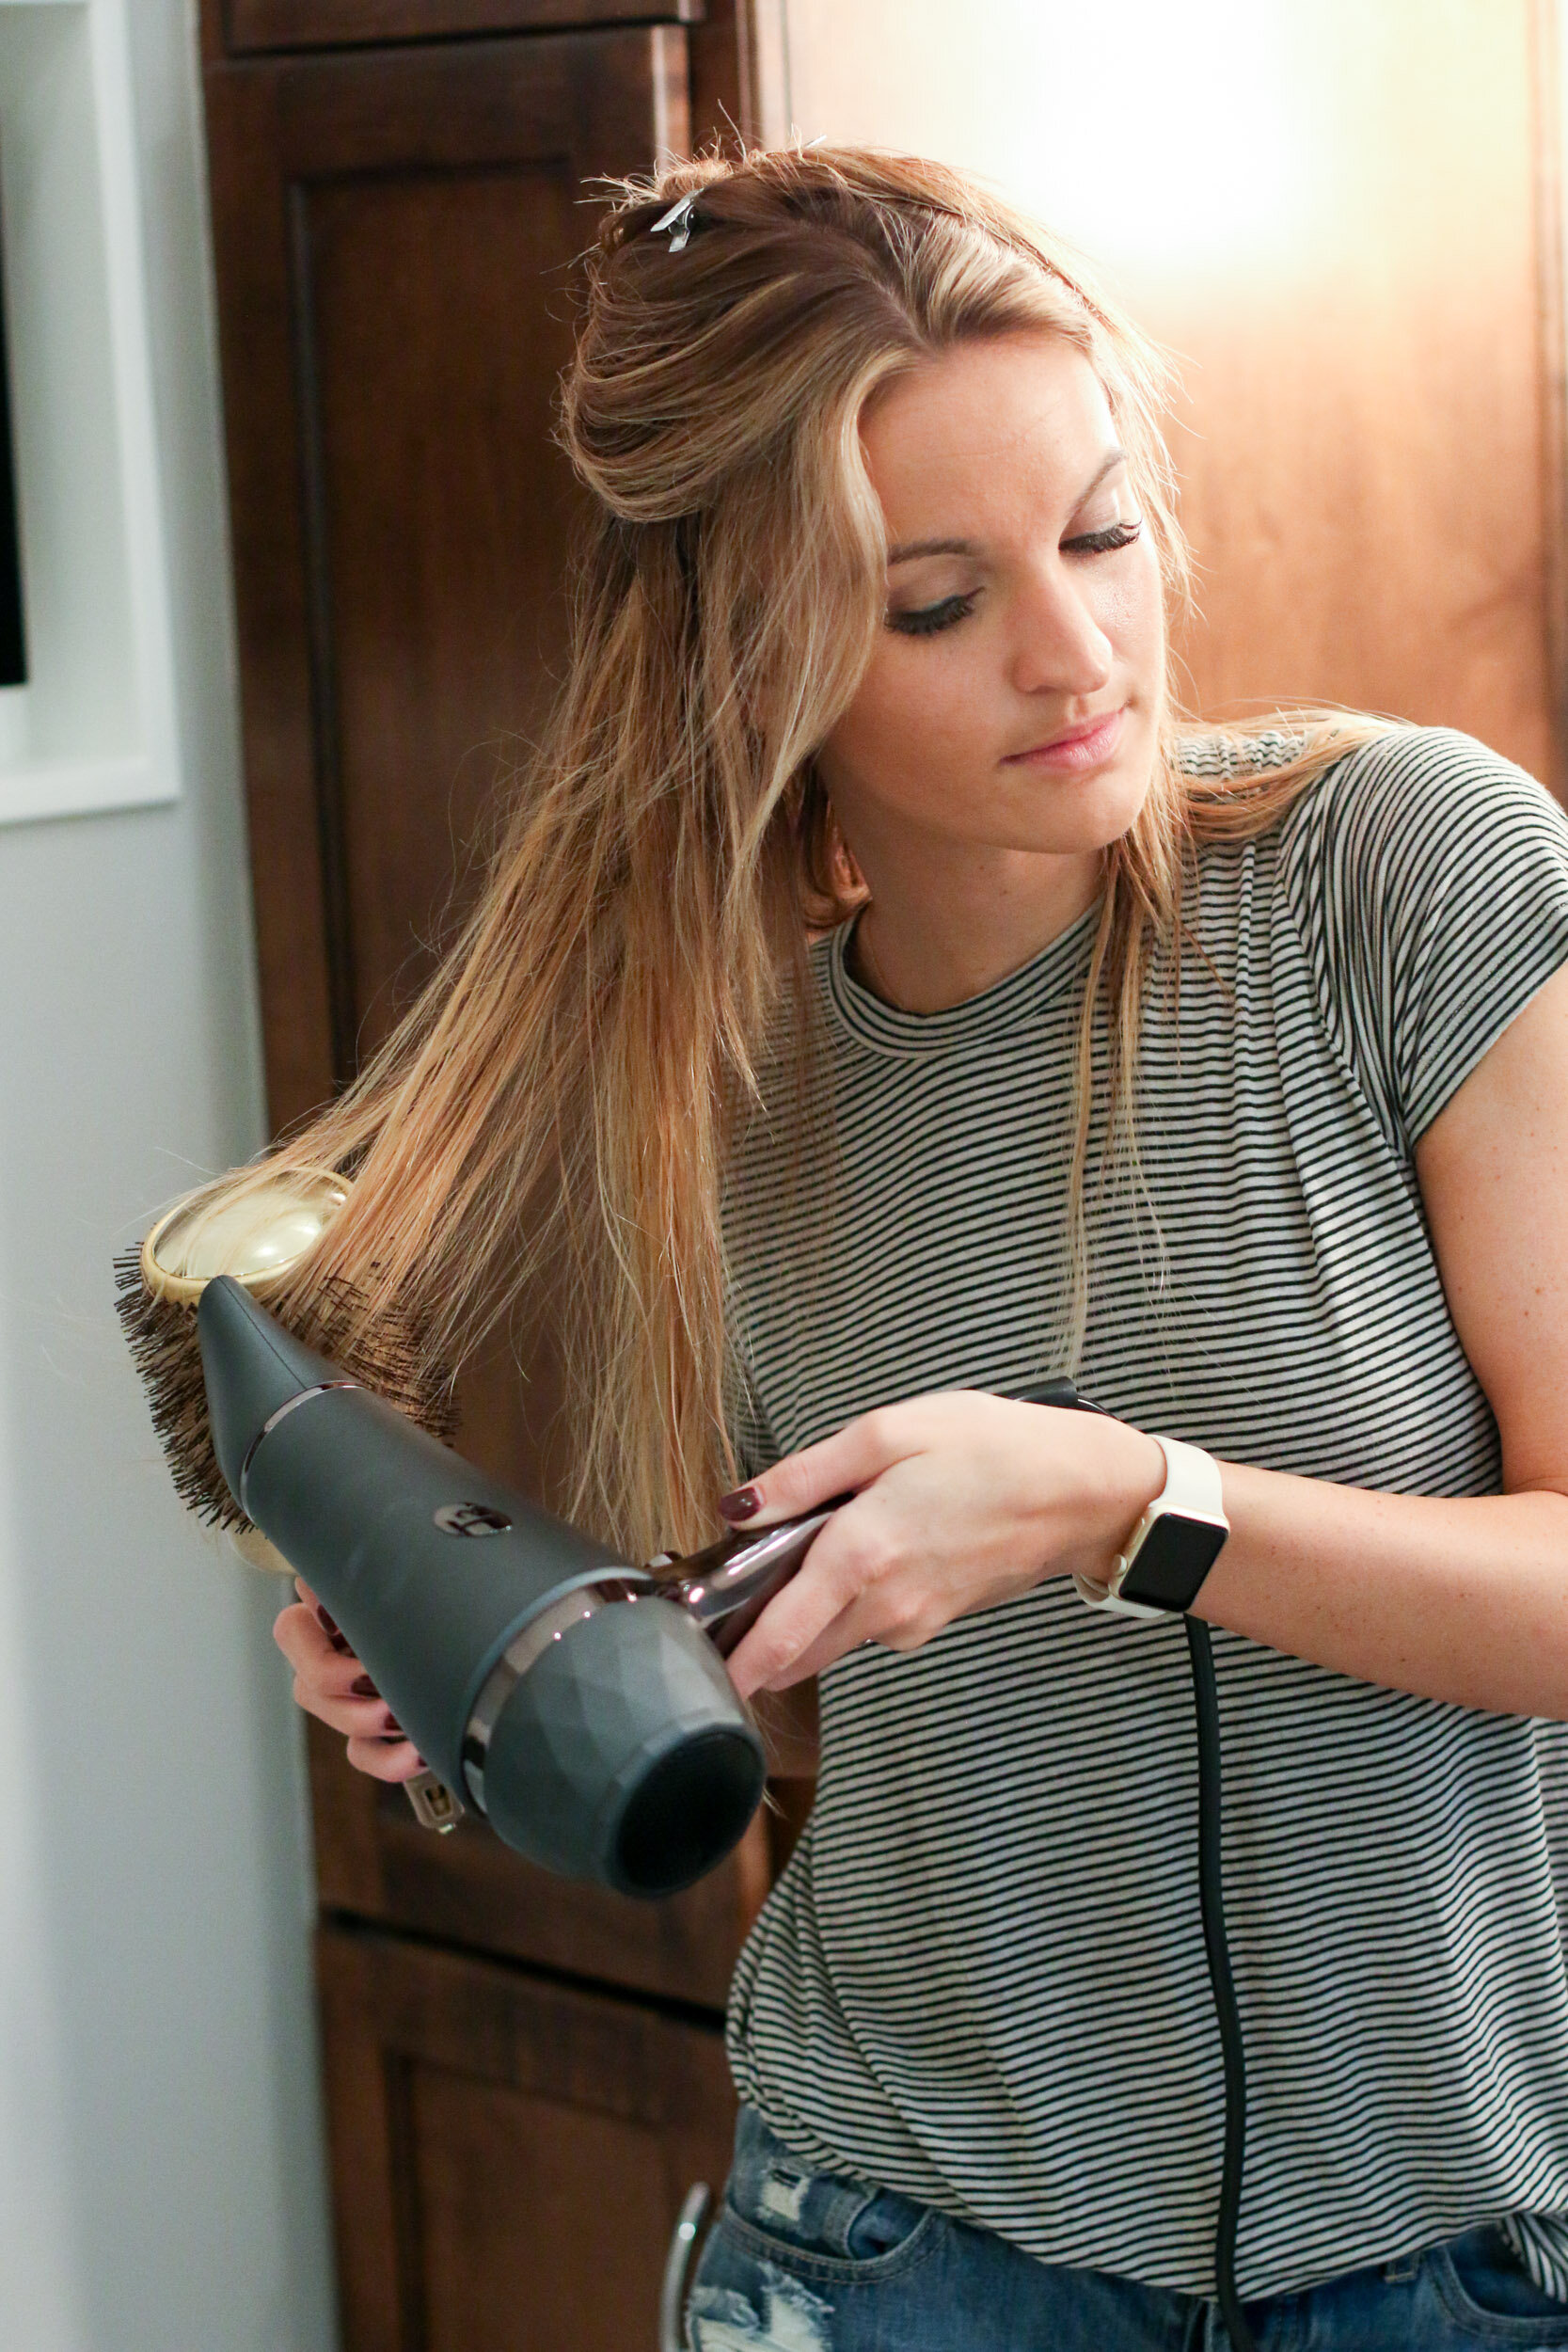
 Next, section your hair off to where only the bottom 1/3 of your hair is left out to dry. Blow dry the bottom part of your hair using a round brush (I personally like a really big round brush because I think they're easier to use, and you get more volume!)

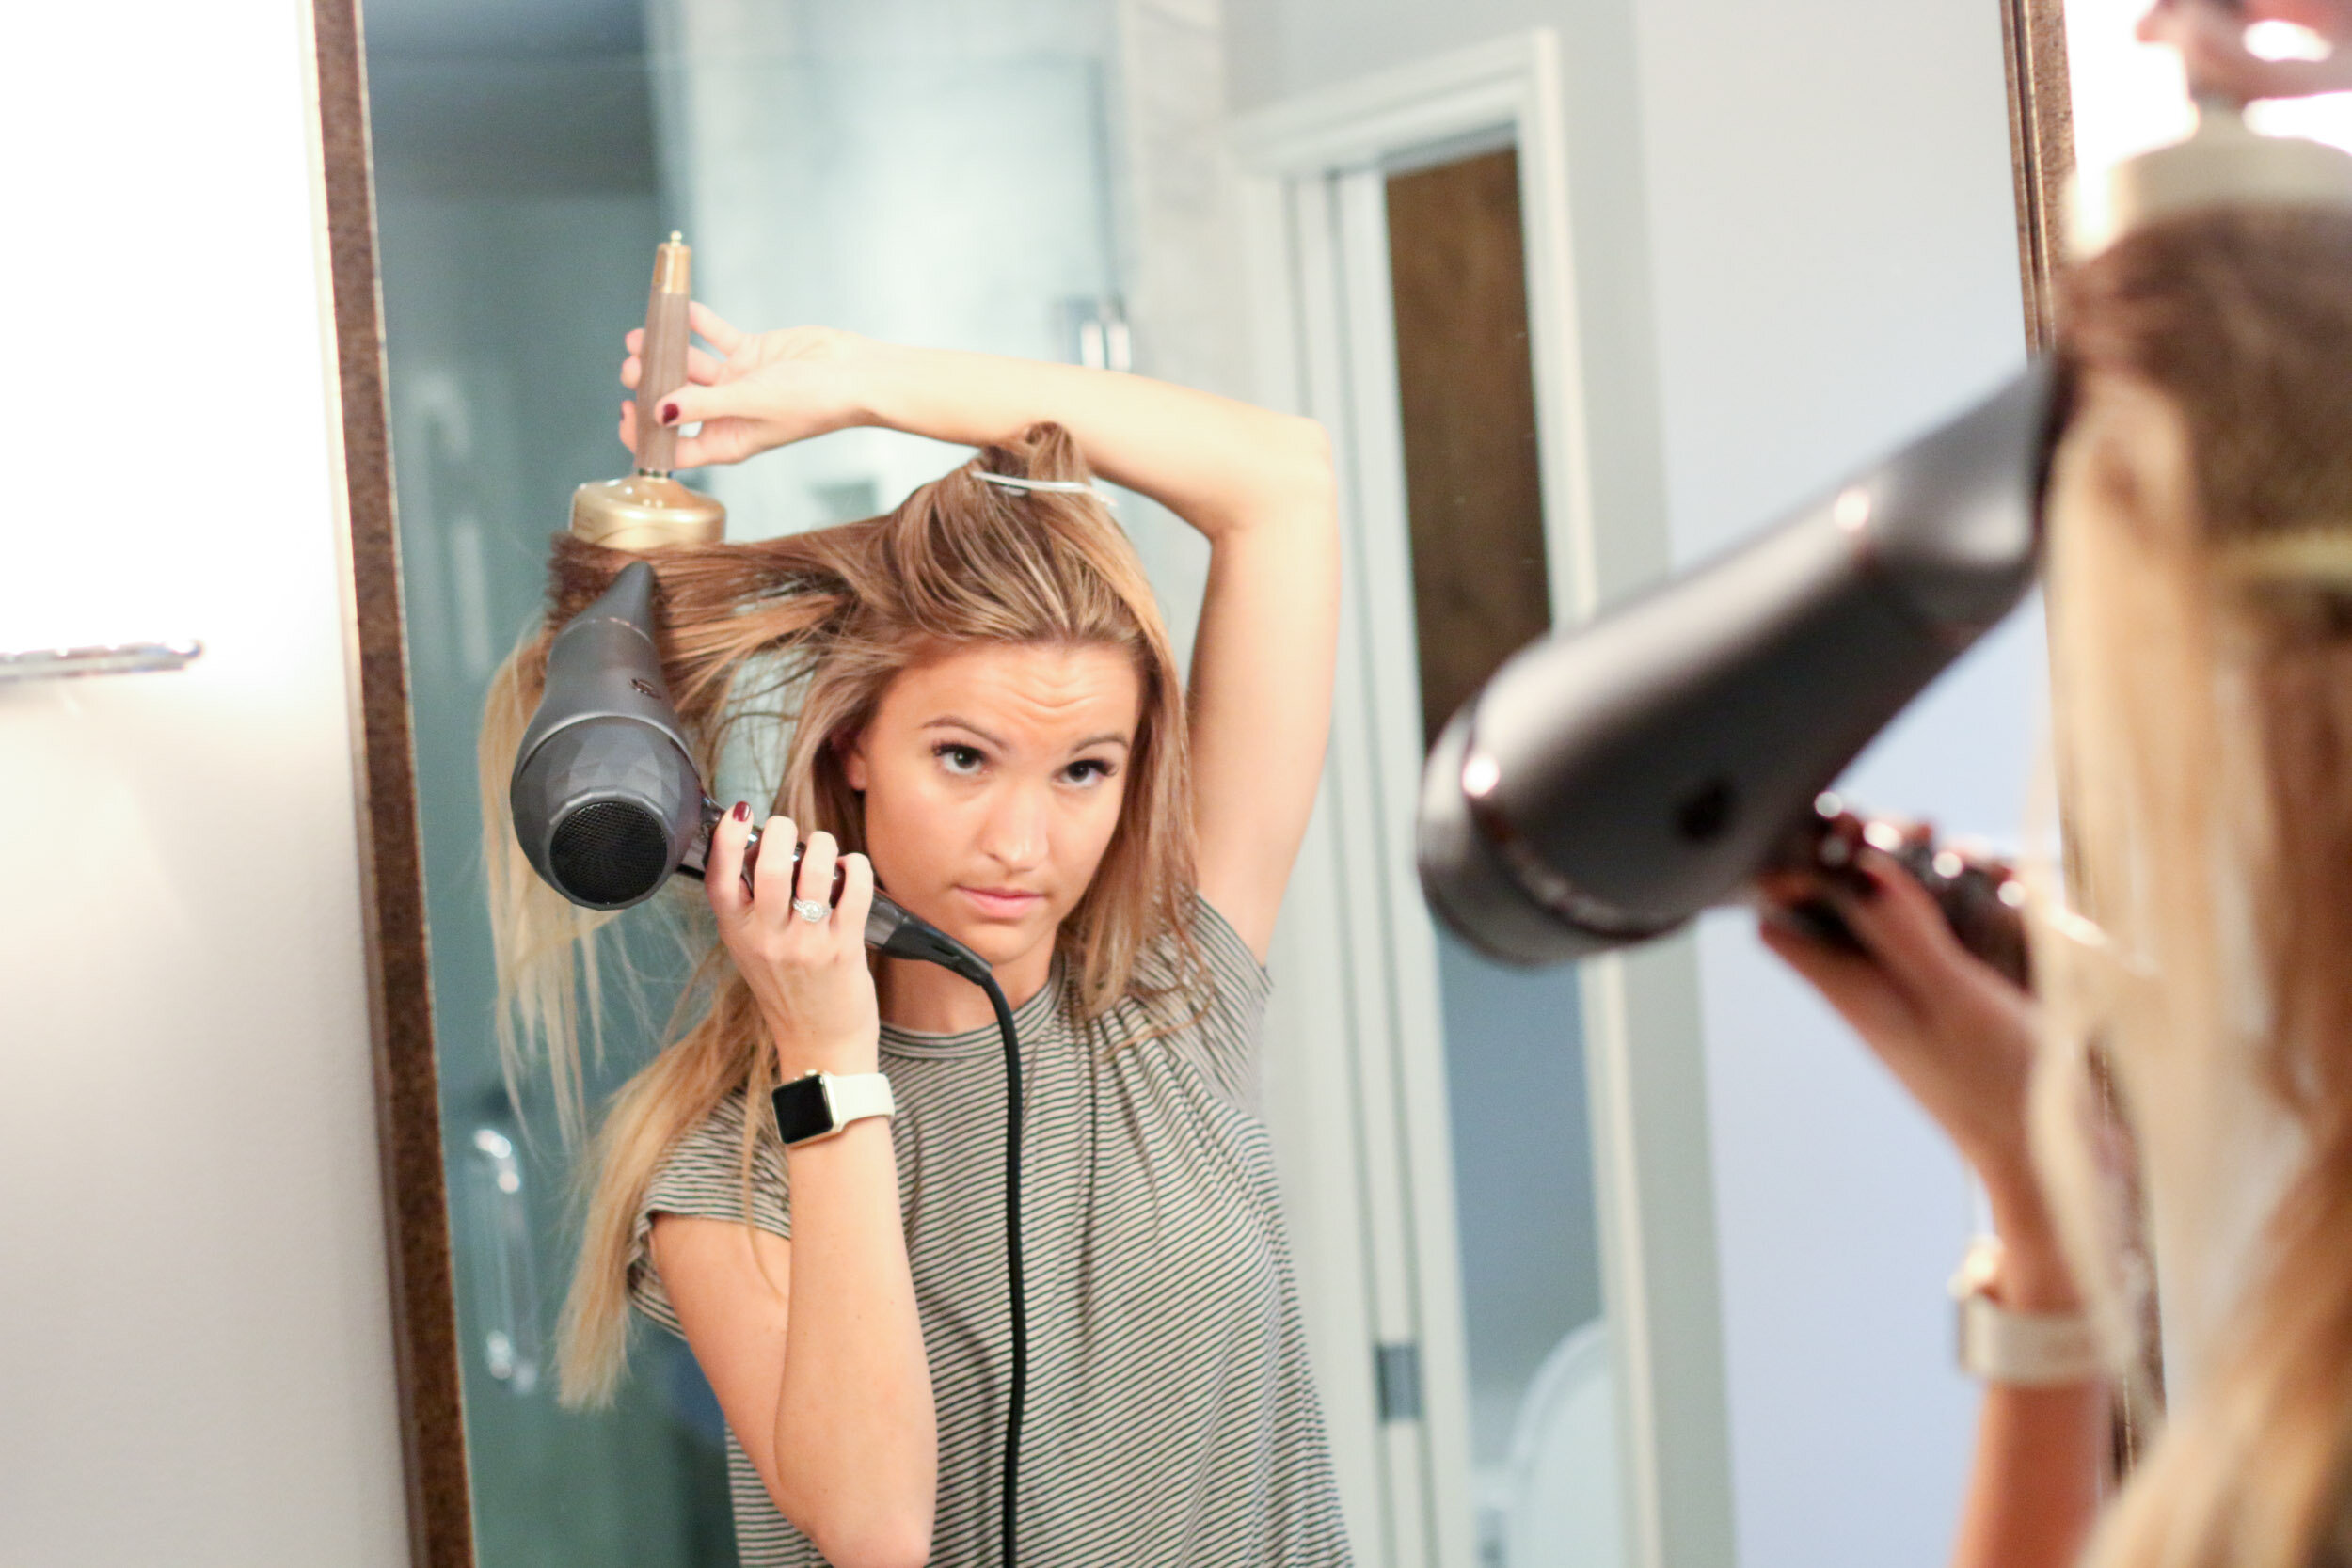
 Let down the next 1/3 of your hair, leaving only your bangs and very top layer of your hair clipped up. Blow dry this section with a round brush, focusing on your roots, to get some good lift.


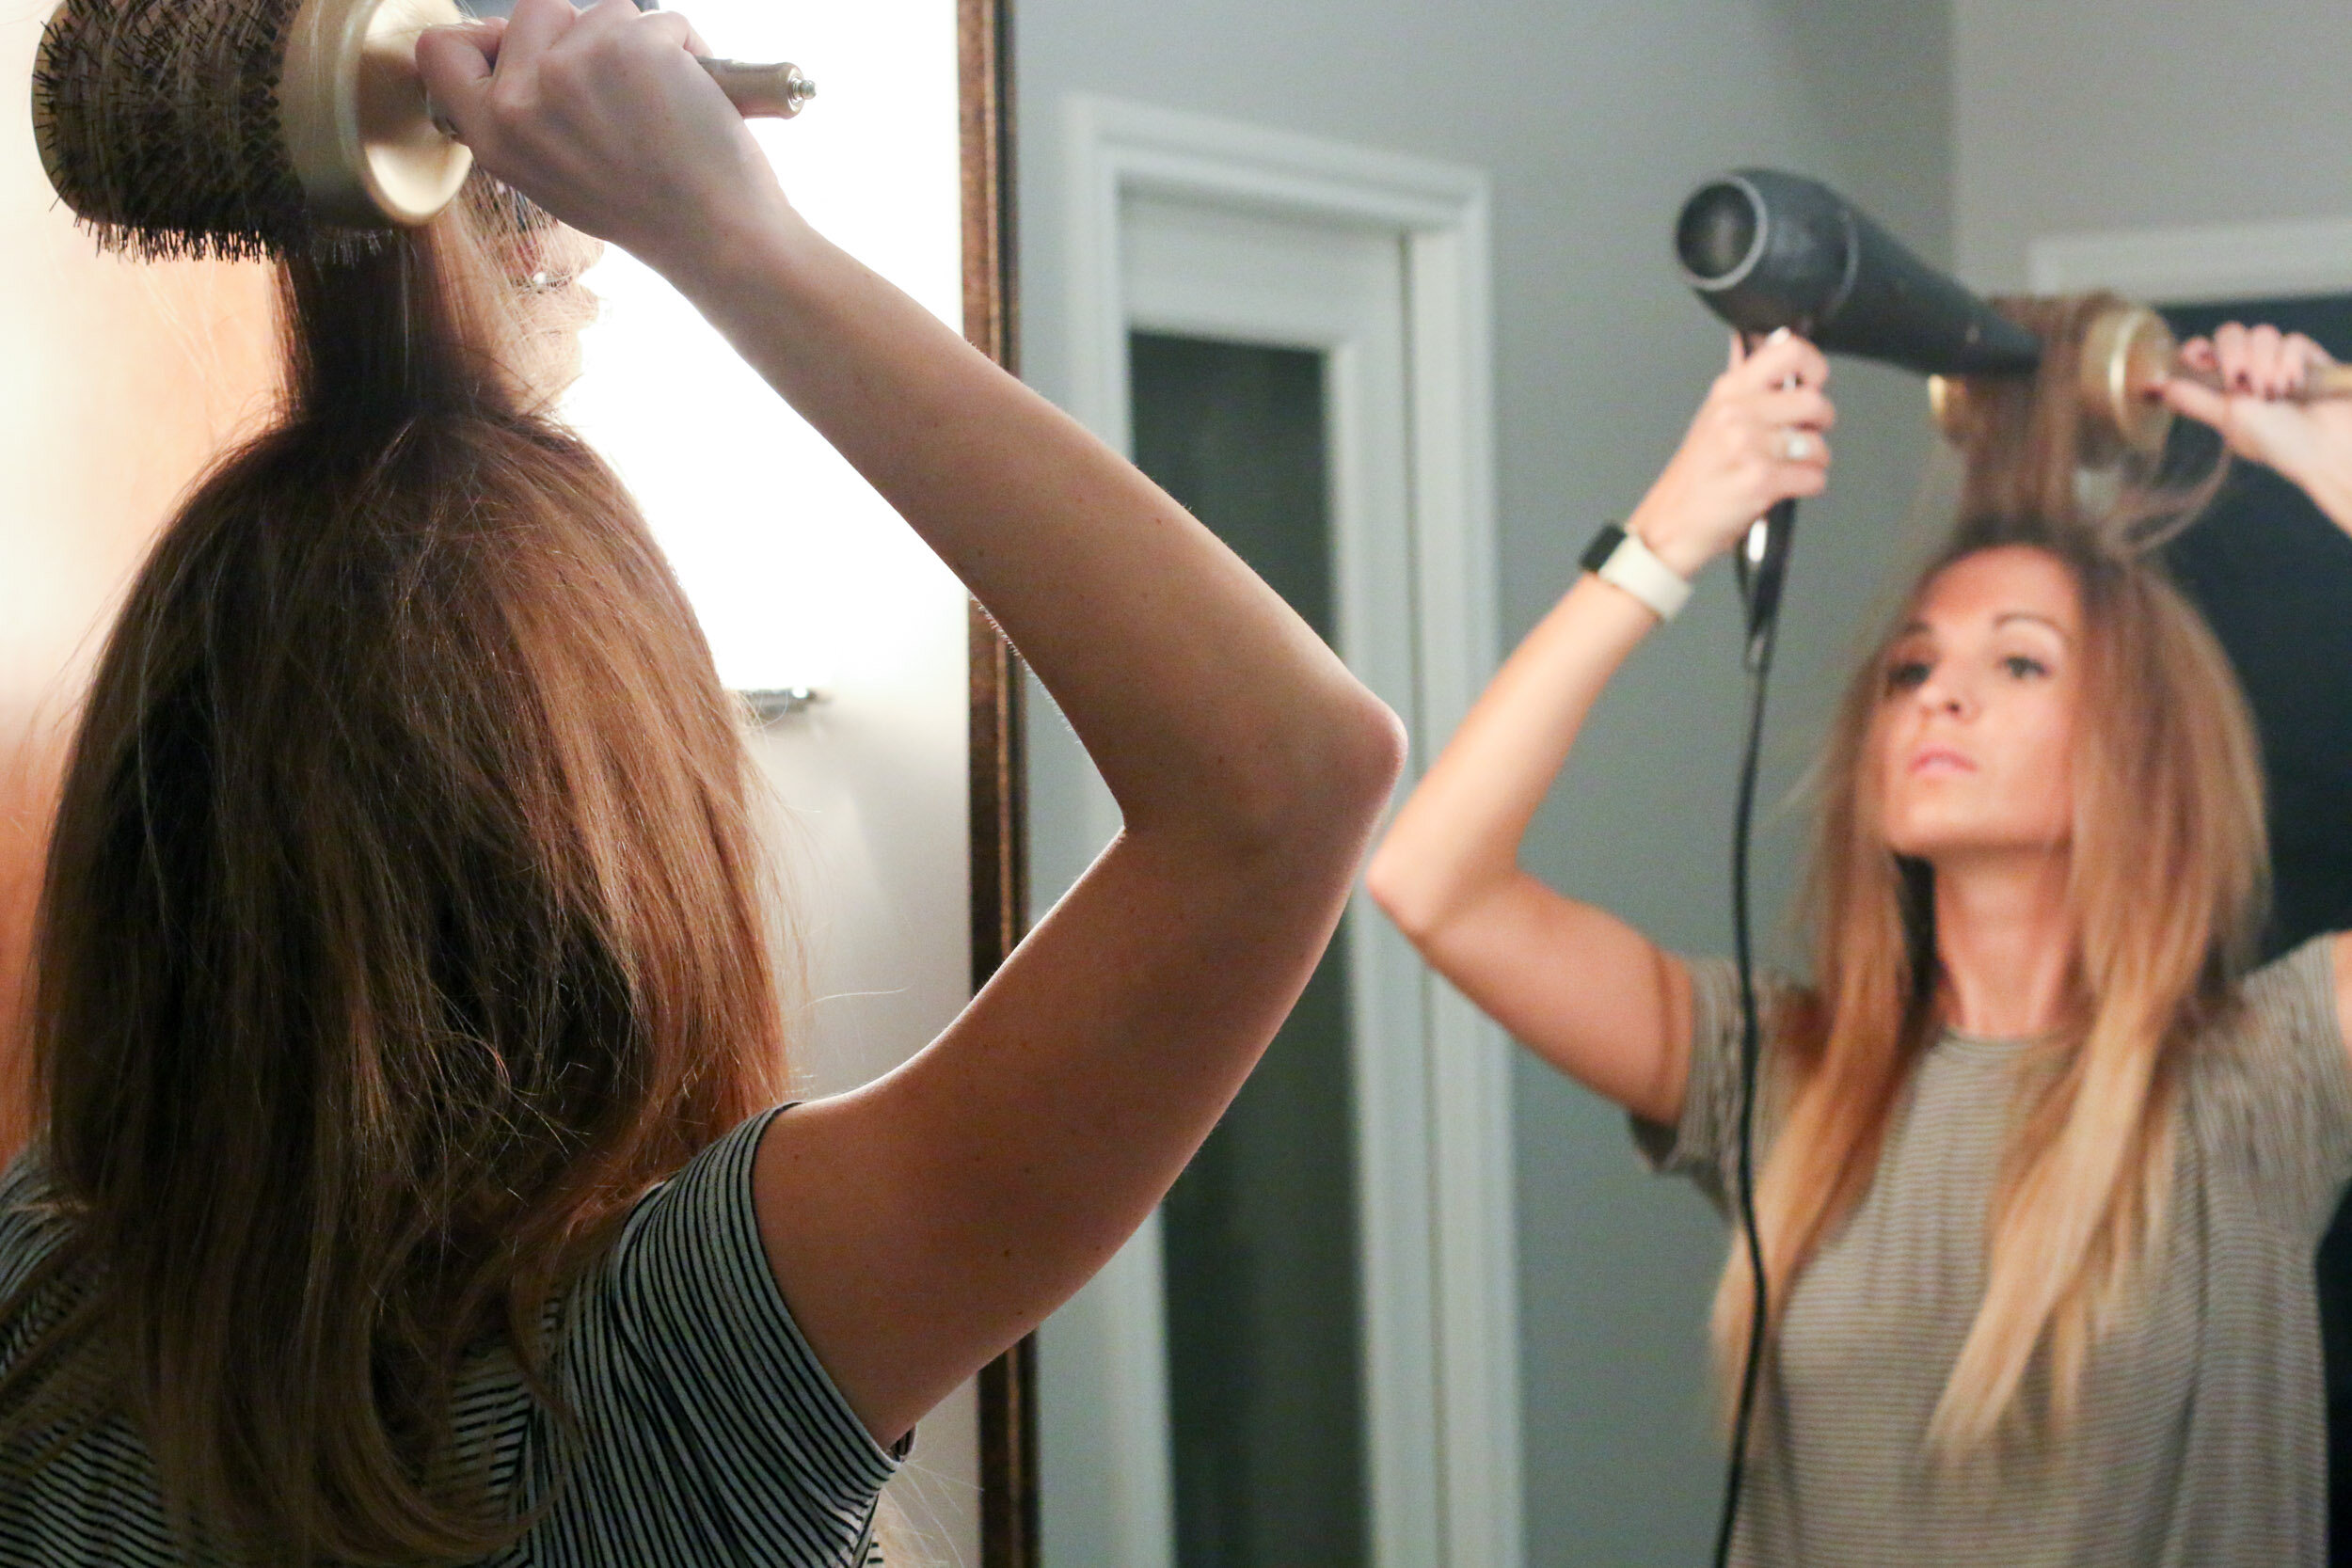 Now let the very top section of your hair down and blow dry your bangs first. If you don't have bangs, or have awkwardly long ones like me, I like to blow dry mine back away from my face. But, using the round brush, you should pretty much blow dry them in every direction to avoid any kind of cowlick! You can use the blow dryer to help you round brush by putting the dryer underneath the section you are round brushing (see photos above).


 After you're done round brushing each section, go back through just with your hands and the dryer to make sure everything is dry, and there are no damp spots left. What I love about this round brush is that it makes your hair super smooth and straight, without having to use a flat iron.Hope this helps with any hair drying questions you might have had! Feel free to ask any questions in the comments if I didn't explain anything correctly! And I highly encourage you to try out the T3 hair dryer. In my opinion, it truly is the best hair dryer out there. This specific T3 hair dryer (the PROi) is only available at Sephora, but you can find more T3 products here! xx
Shop the post:
[show_shopthepost_widget id="1151256"]

