ON THE BLOG//
archive
Thinking Bigger: How Simplicity Changes Everything
I have been reflecting on this time a lot, and as I am sure most of us are, thinking about new routines and positive habits that we have developed during this stay at home order that we want to bring with us as we enter back into "normalcy," which I assume will never be the same. Although this time has so much heaviness and devastation that surrounds it, I continually think about how wonderful it has been to be forced to stop, to pause, and to be where we are.These reflections have led me to start a collection on the blog focusing on Thinking Bigger – Over the next few weeks, my hope is to cover topics that have been developed in this time like the power of simplicity, serving others, new rhythms and routines, and digging into new passions.Before this pandemic, the general answer from the majority of us when asked how we were doing would be, "we are so busy." Even though our days still remain full since Jase and I's work has shifted and continued, our days look so incredibly different. We are able to start our day in a more restful way, we have been spending hours in the fresh air and sunshine every day, we have been extra present and available for little Bennett doodle (our 5-month-old puppy), and we are more intentional with who we connect with virtually + having time and space to think about others more, to help small businesses, and the list goes on. Not to mention, shows such as The Today Show (the majority being filmed from their homes) and even my husband's show (currently transitioned to interviews on IG Live) have all felt so personal and so genuine, which I think we have all craved without even knowing it.
 I didn't realize how much mental space was taken from coordinating and deciding on social plans, organizing travel schedules, unpacking just to repack, going to appointment after appointment, and driving to and from everything. This realization has given me a little hint as to why I feel like we are doing things so differently during this time. I really had to sit and think about why we didn't spend our evenings outside before this since the time in the evenings have stayed quite similar from then to now, why cooking felt more like a chore then and is a joy now, why FaceTiming with family and friends felt distracted then and is longer and so focused now. As I have realized in the past through my own experience is that traumatic times seem to show us immediately what is important. It filters out the fluff and hones in on necessities to live – the simplicities that keep our joy kindled.The things that this time has brought that I feel so grateful for: hearing the birds outside, noticing things in nature that I have never had the time to enjoy before, listening to music all day, buying our groceries from a local farm, starting a masterclass that has taught me so much about cooking, planting a garden, going for long neighborhood walks while getting to know the neighbors from a distance, and reaching out more to friends and family to check-in.
 One last thought: isn't it so interesting to think that this is so similar to how our parents and grandparents grew up? Neighbors knew each other, people borrowed an egg from the person next door, so many gardened and enjoyed the simple things, cooking and dishes were day to day tasks...Questions to leave with:What has changed in your routine that you feel thankful for? What is one thing you want to continue when the world starts opening up again?Shop the tank here.[show_shopthepost_widget id="4023495"]
best hair dryer
Happy Friday ya'll! I've been getting alot of requests recently for a hair tutorial. I have a curling hair tutorial in the making, which will hopefully be a video! But, there's a very important step that comes before the curling iron and that is: the blow drying.Like any other girl, I used to despise drying my hair. It takes forever, it's somewhat exhausting, and I end up sweating after I just showered. So for a while now, I'd been on the hunt for the best hair dryer. One that would dry my hair quickly, and do as little damage to my hair as possible.Enter T3. This hair dryer isn't cheap, but it has totally changed my attitude towards drying my hair. First of all, it cuts the time in half that I spend drying it. Second of all, it's not damaging to your hair like most hair dryers. There's so much technology behind this thing, it's not even funny. But it's clinically proven to be healthier than air drying, with up to: 73% reduction in frizz, 86% increase in body, 19% increase in shine, 33% increase in comb-ability and 48% increase in style retention. It also uses SoftAire which generates a greater volume of air and weaves through the dryer at the ideal heat and speed for faster and healthier drying. Oh, and it has a 2-year warrantly. So it actually is the best hair dryer ever.Here's a little step-by-step I put together for you to show how I blow dry my hair at home!
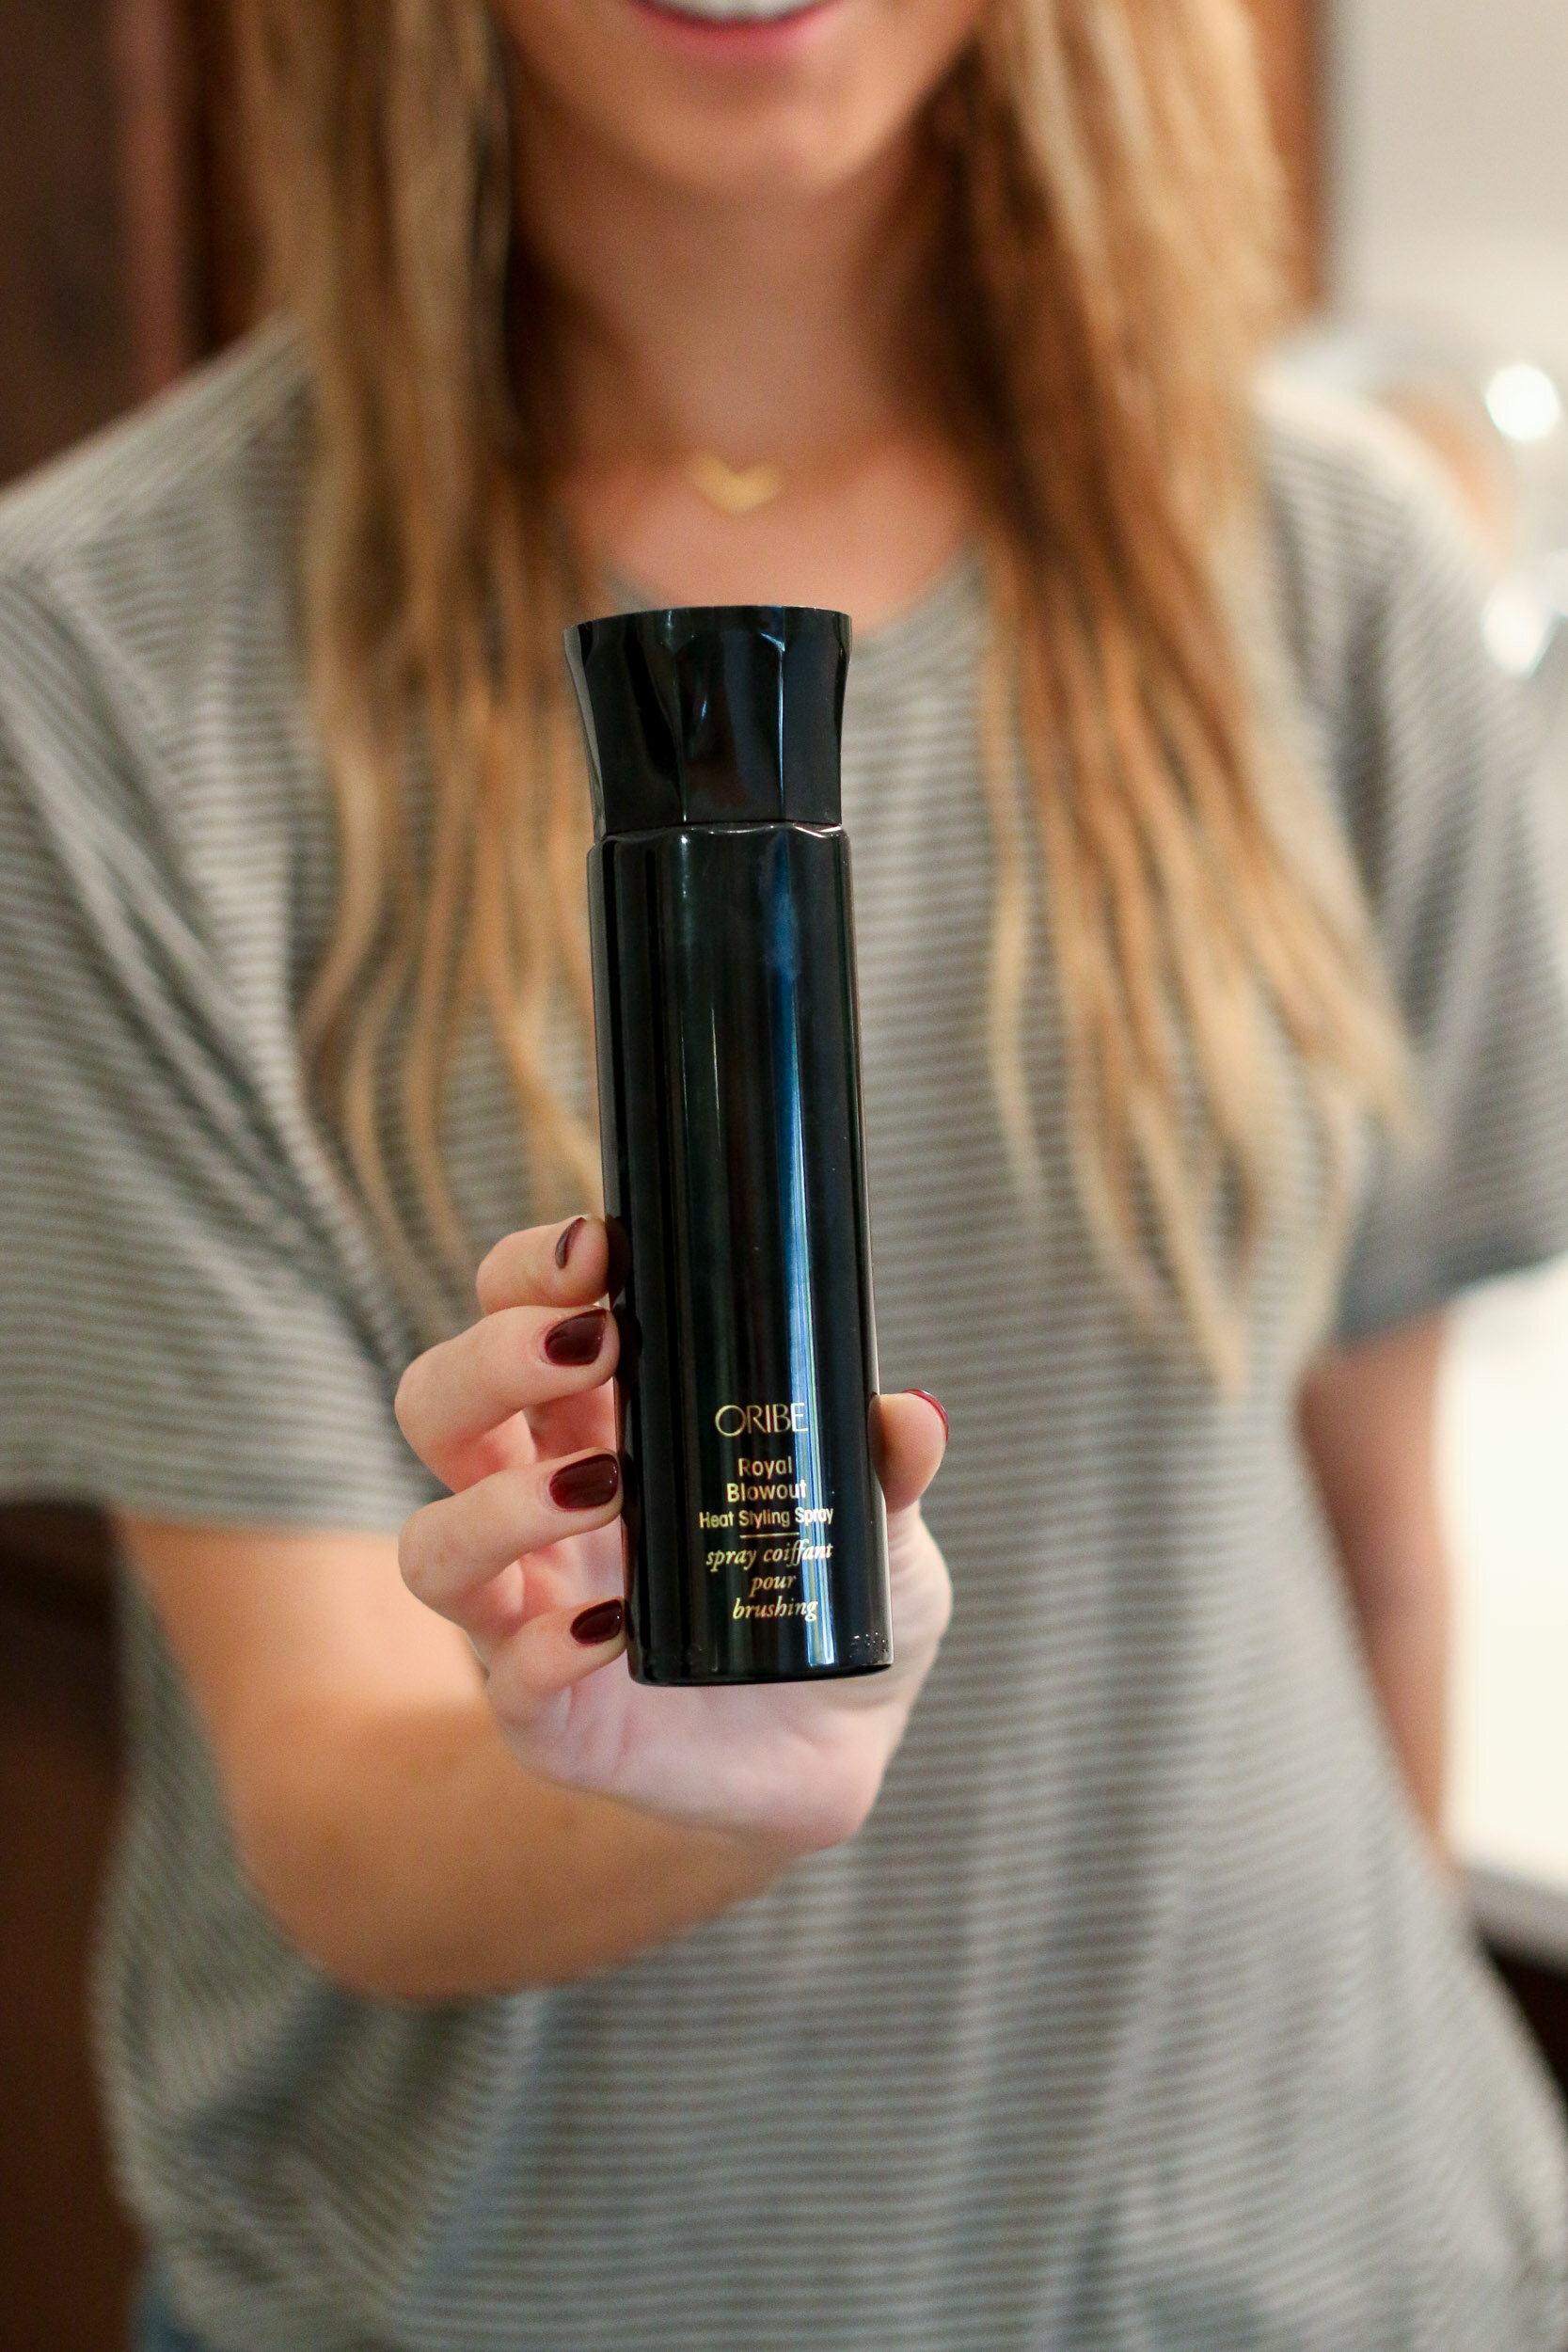

 First of all, I swear by this Oribe Royal Blowout spray. I call it a miracle in a bottle! It somehow makes your hair dry faster, protects it from heat, provides moisture, and helps seal split ends all at the same time. Worth it. So, step 1 is, while your hair is still wet, use this spray (or another heat protecting spray) from mid-shaft to your ends (really focusing on the ends). Comb through (my favorite comb & brush is a wet brush).
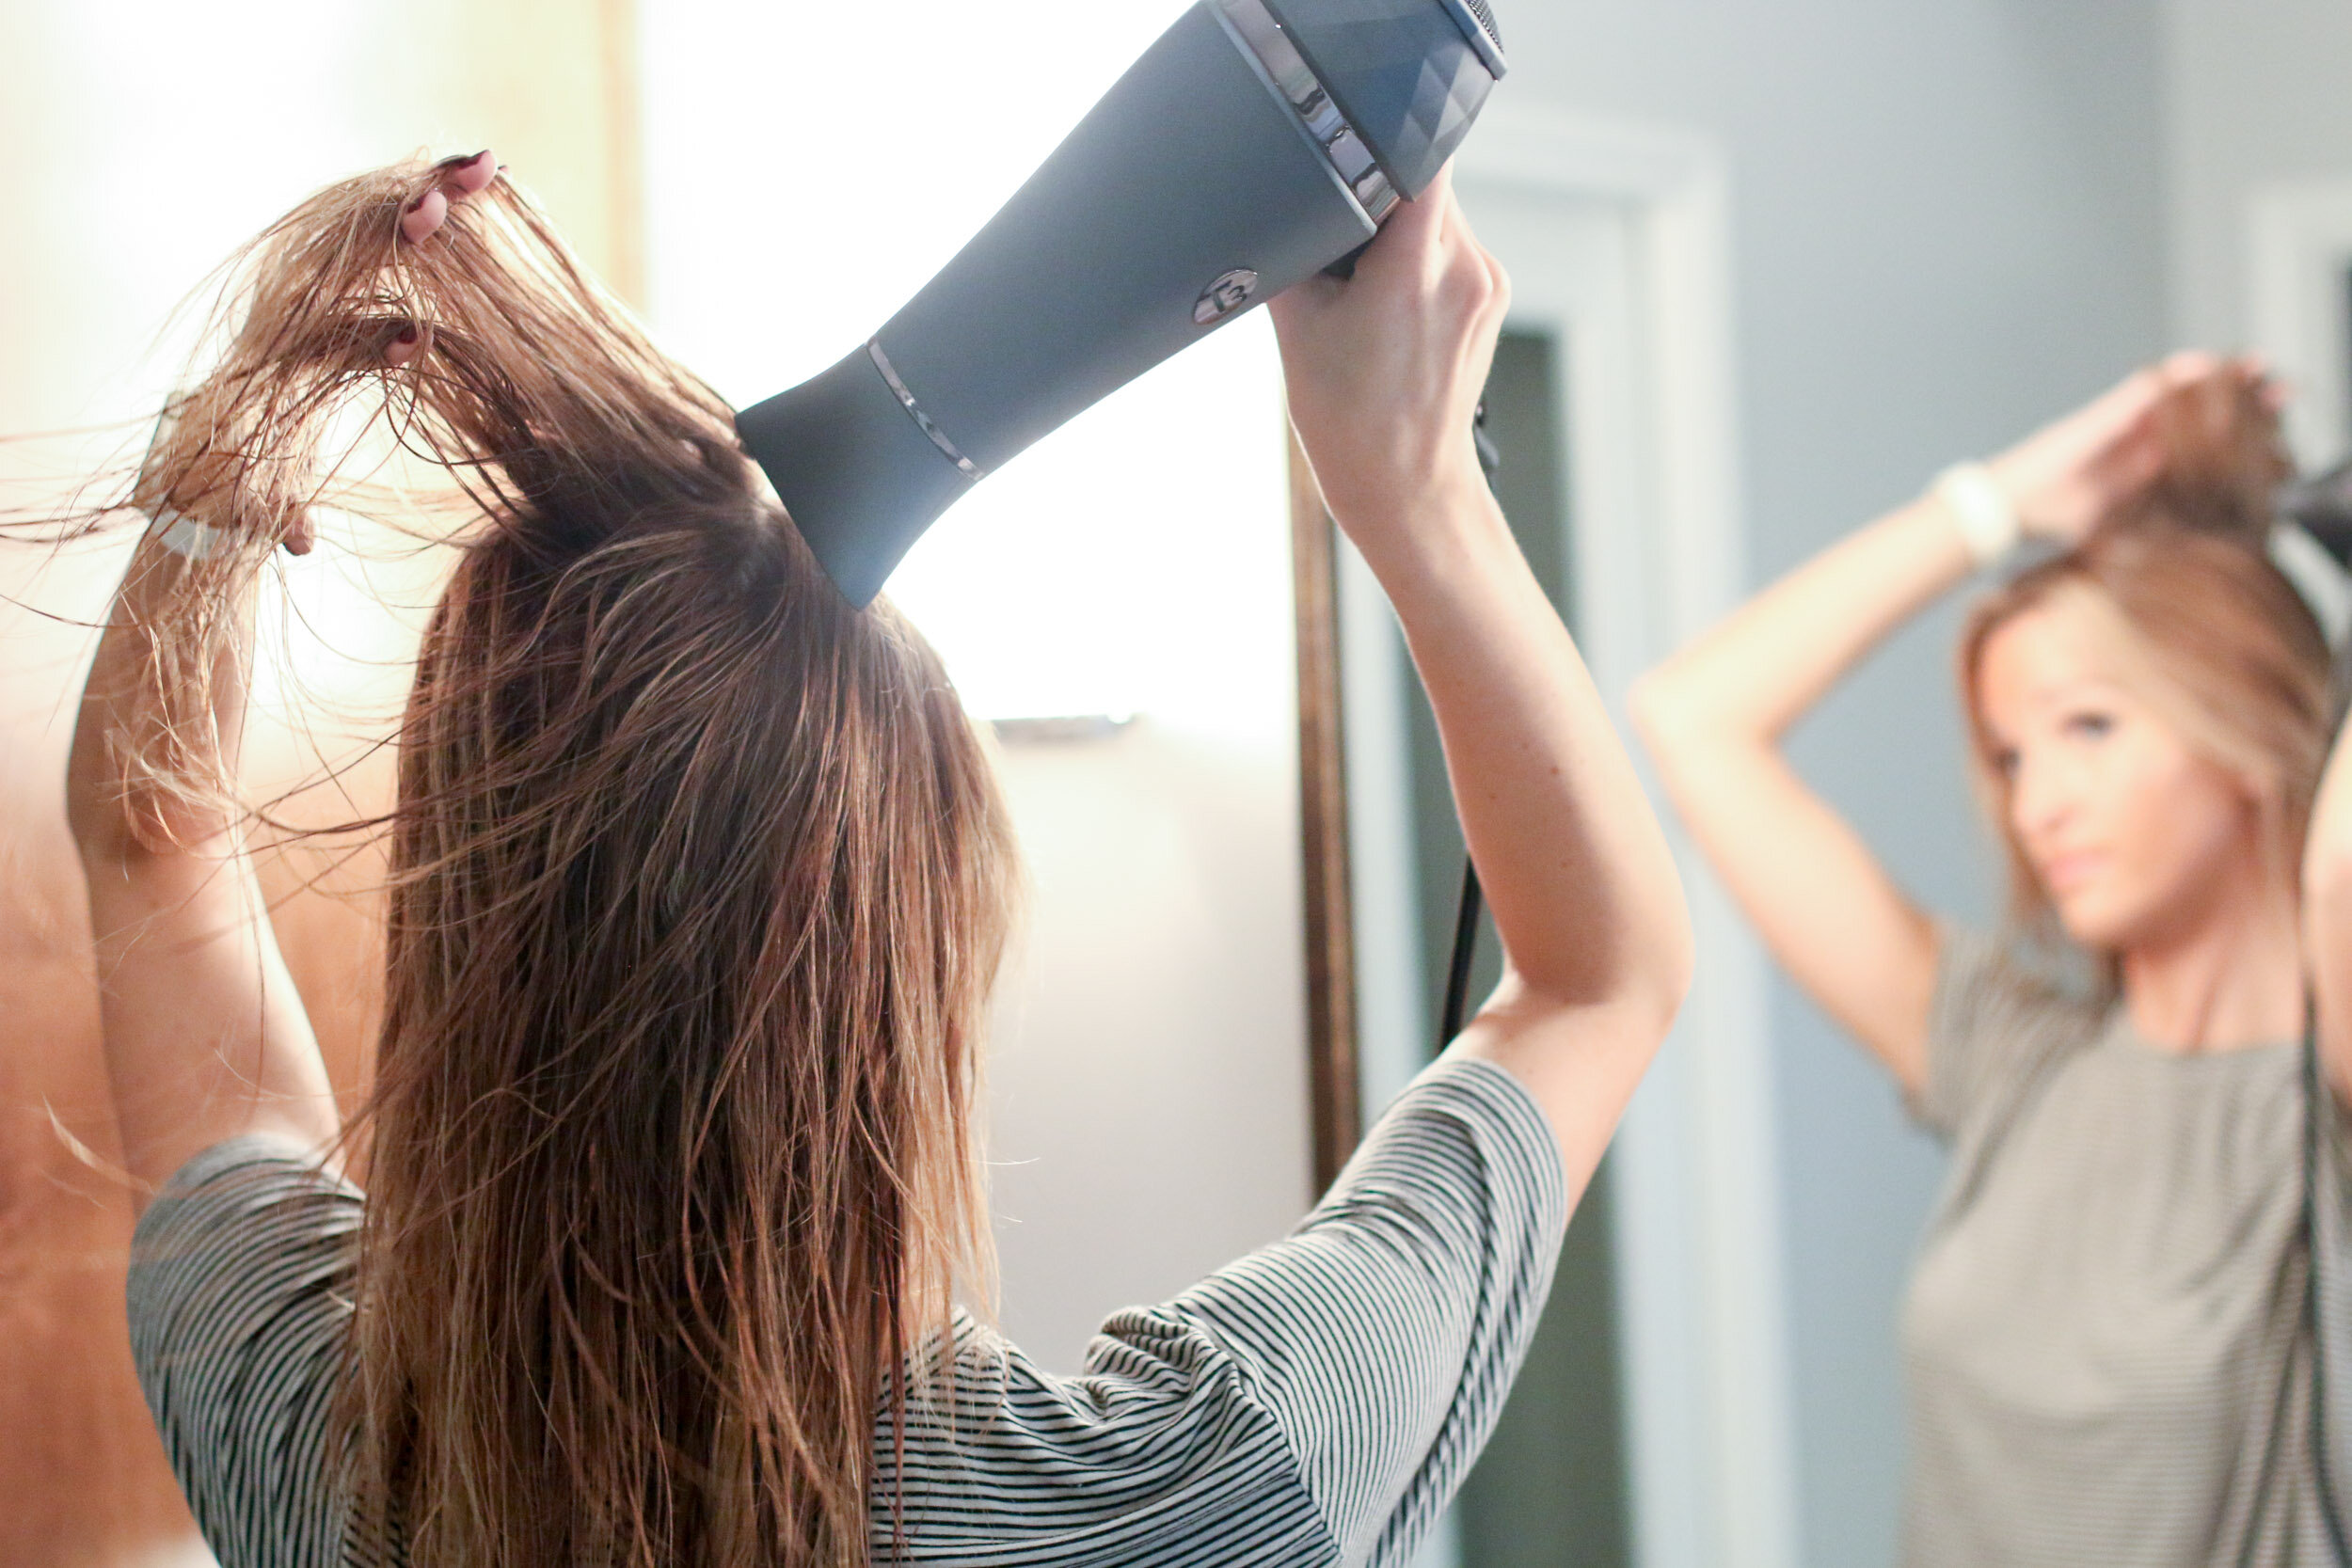
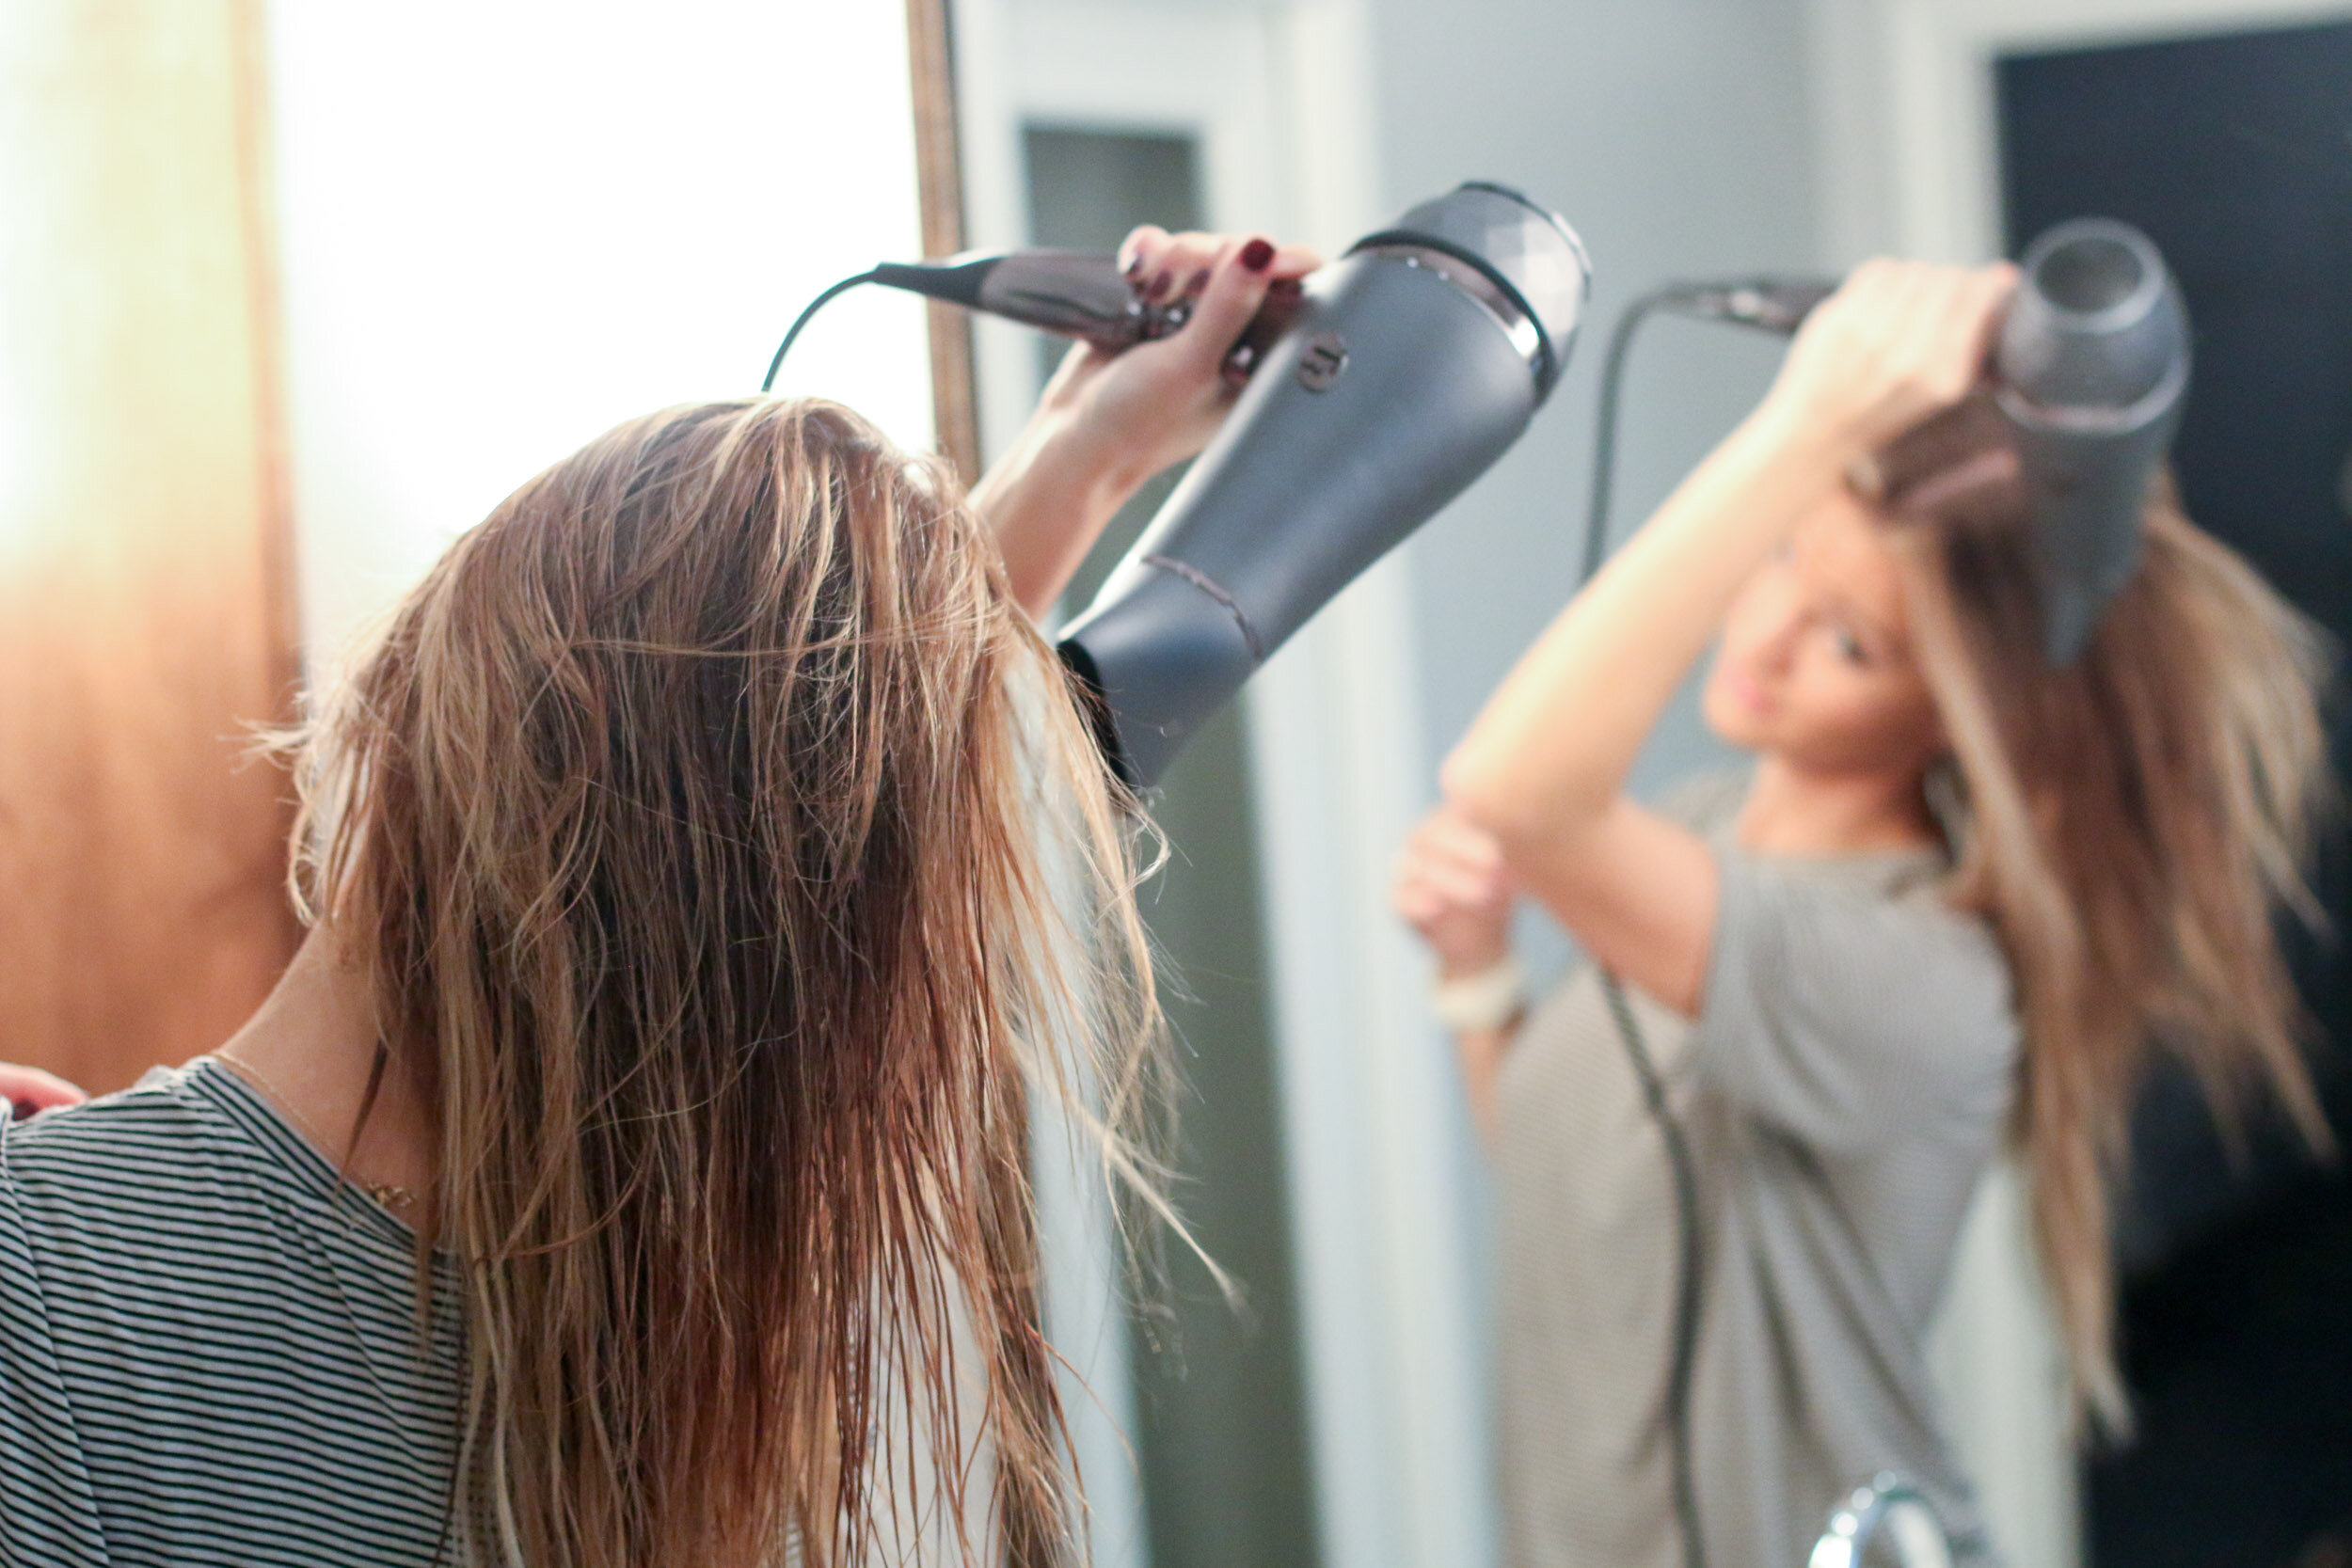 Next step is to just power dry all of your hair without a brush. Just get as much of the intial moisture out as possible, before you actually start styling it. I blow dry my hair on the highest heat setting and highest power setting.

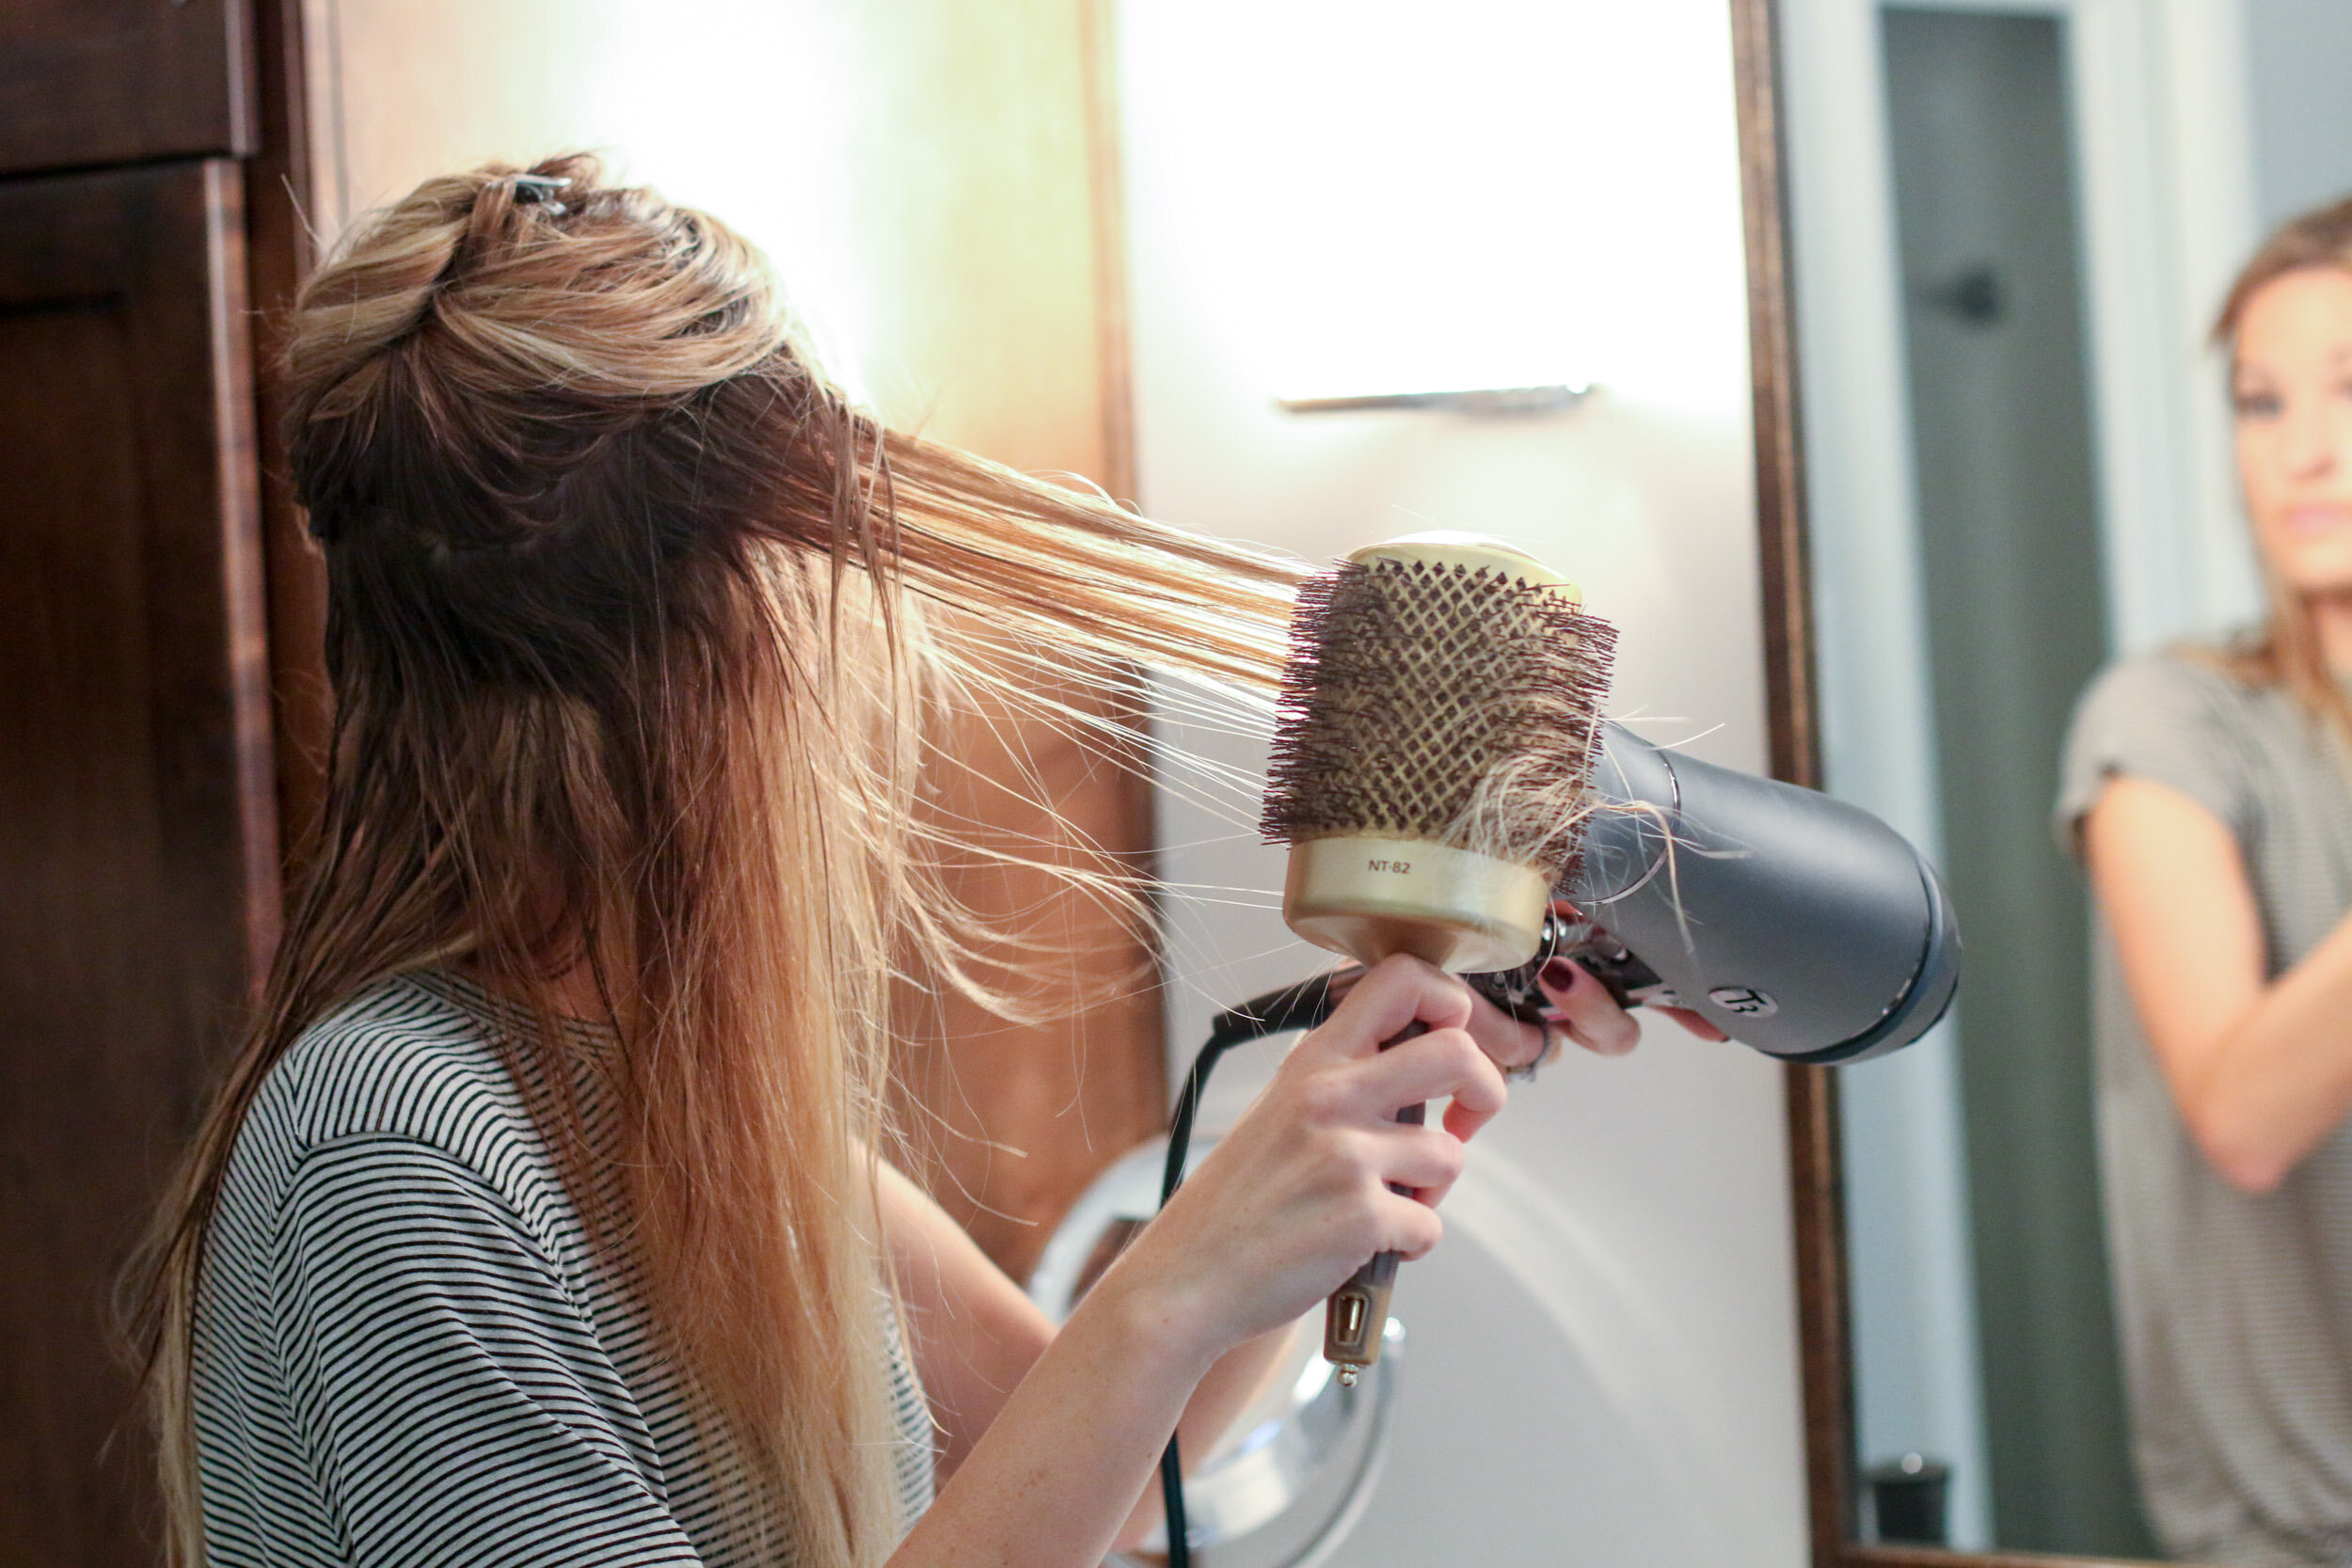
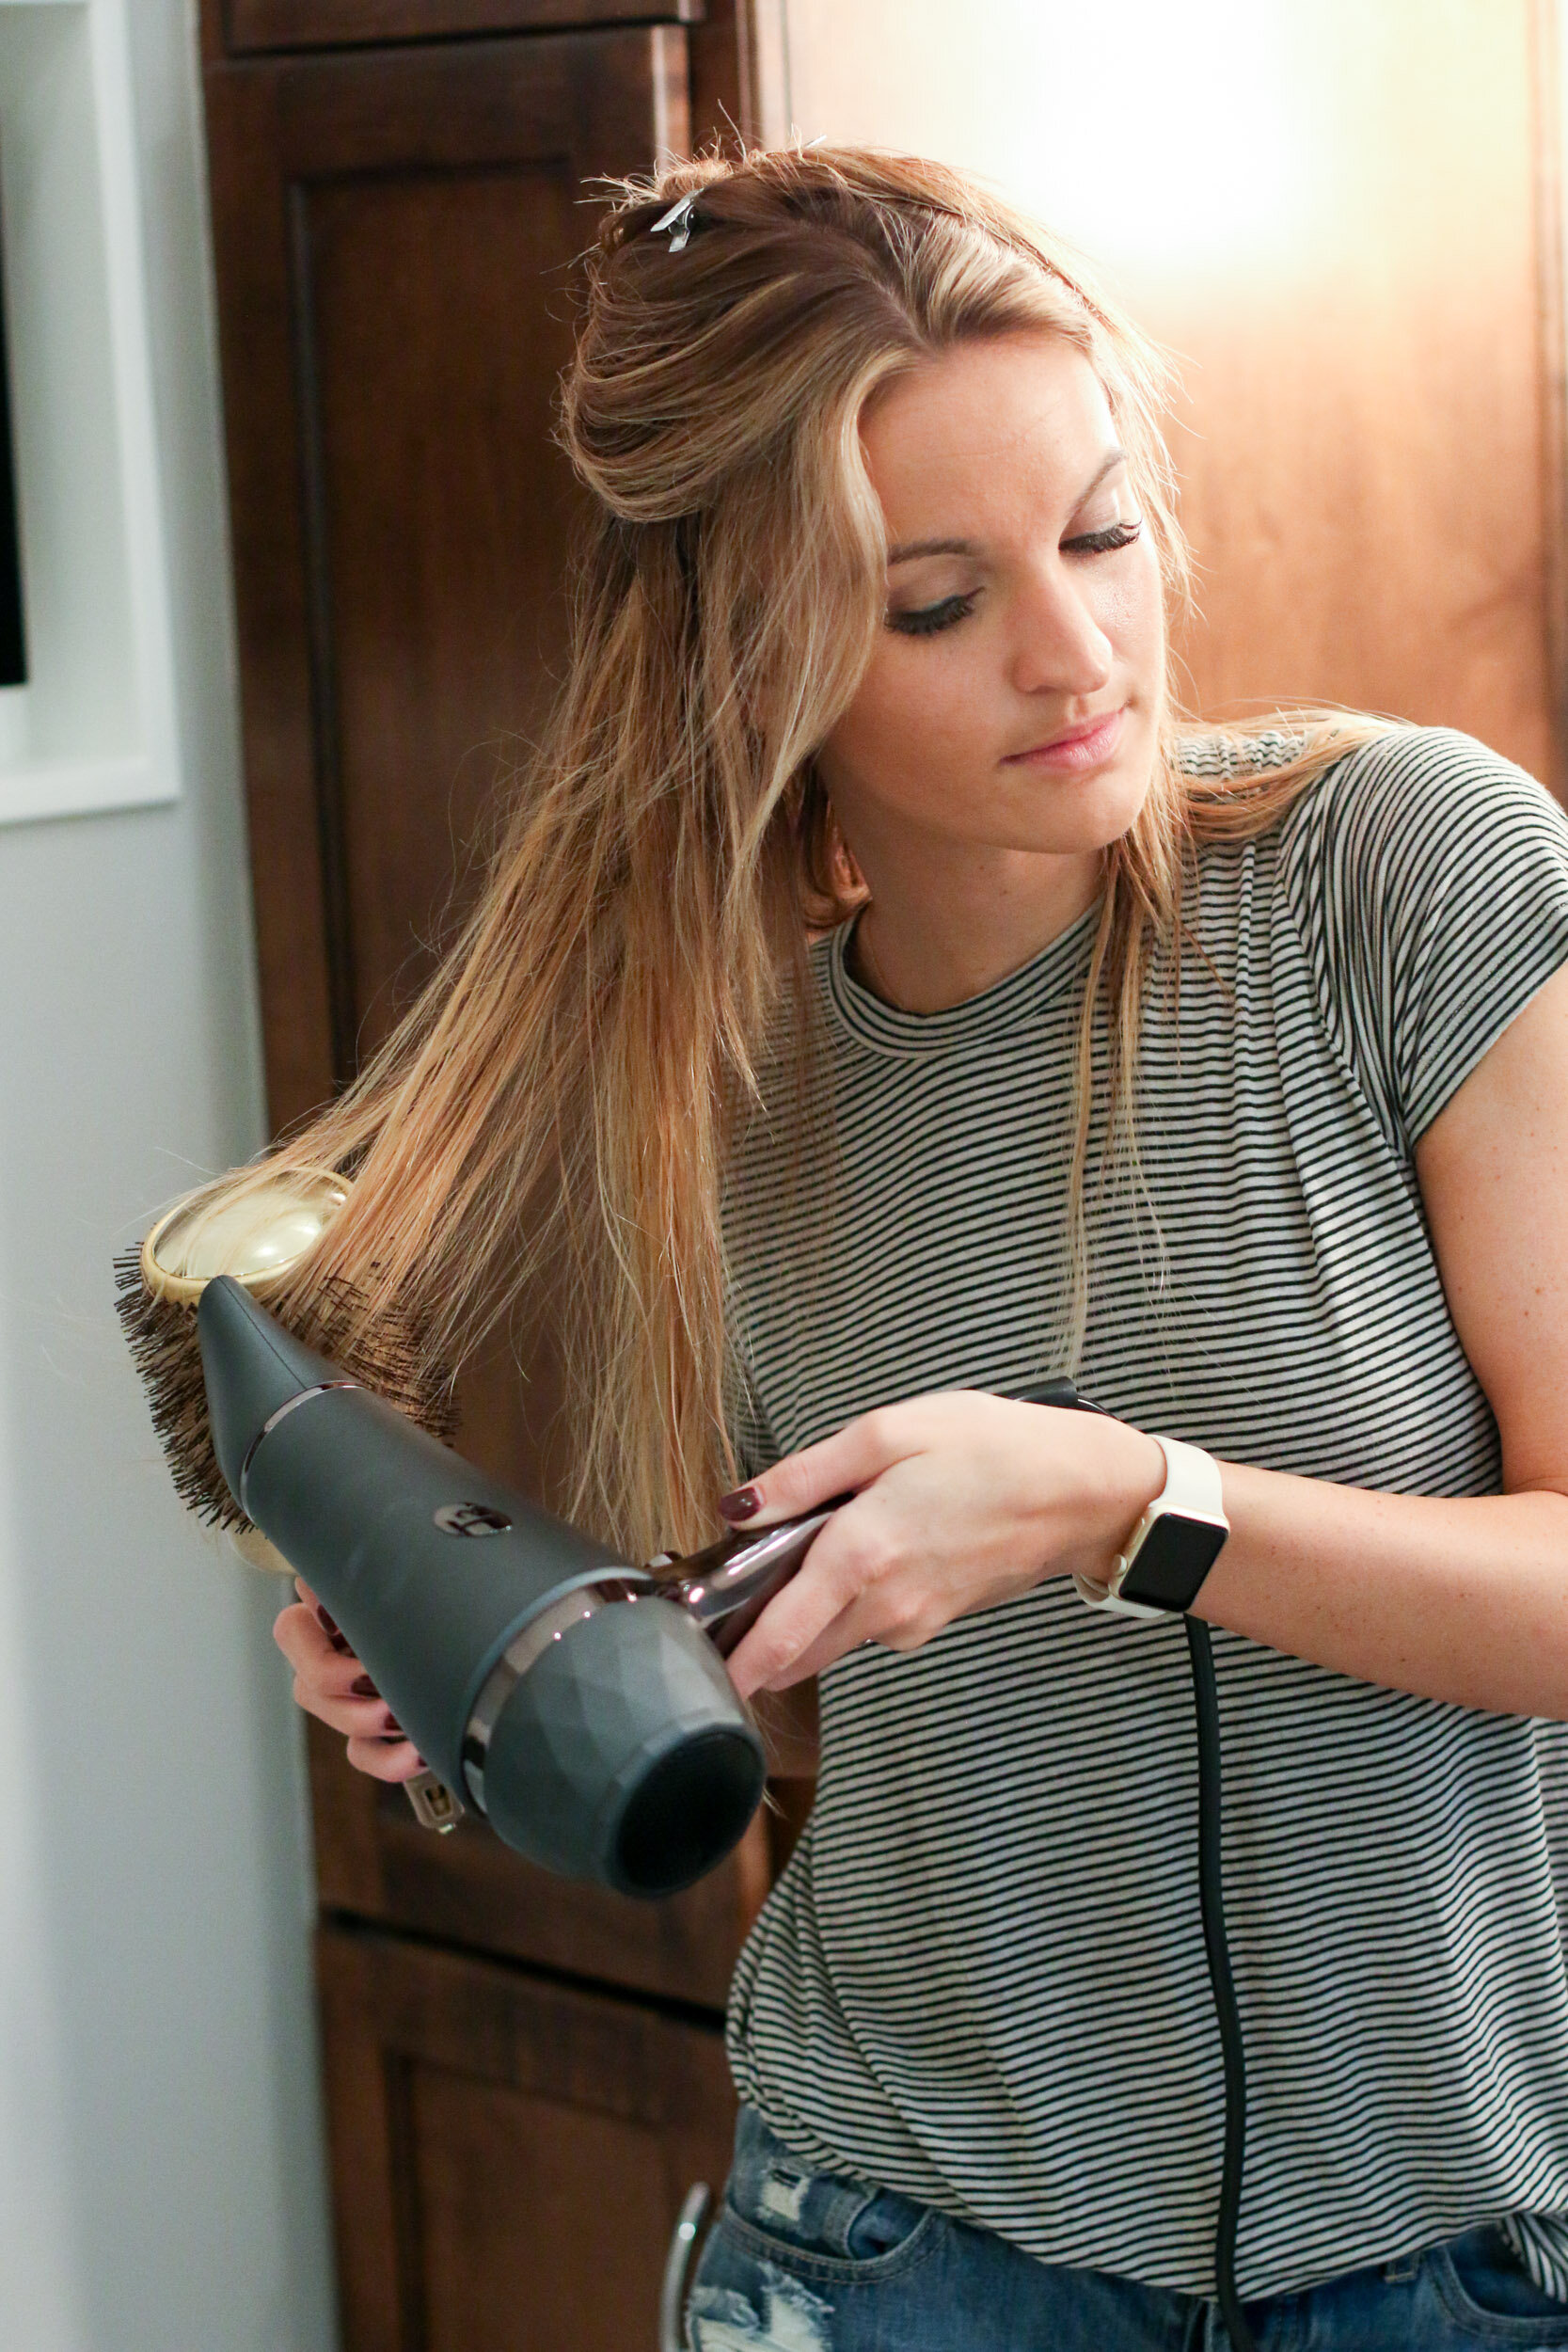
 Next, section your hair off to where only the bottom 1/3 of your hair is left out to dry. Blow dry the bottom part of your hair using a round brush (I personally like a really big round brush because I think they're easier to use, and you get more volume!)

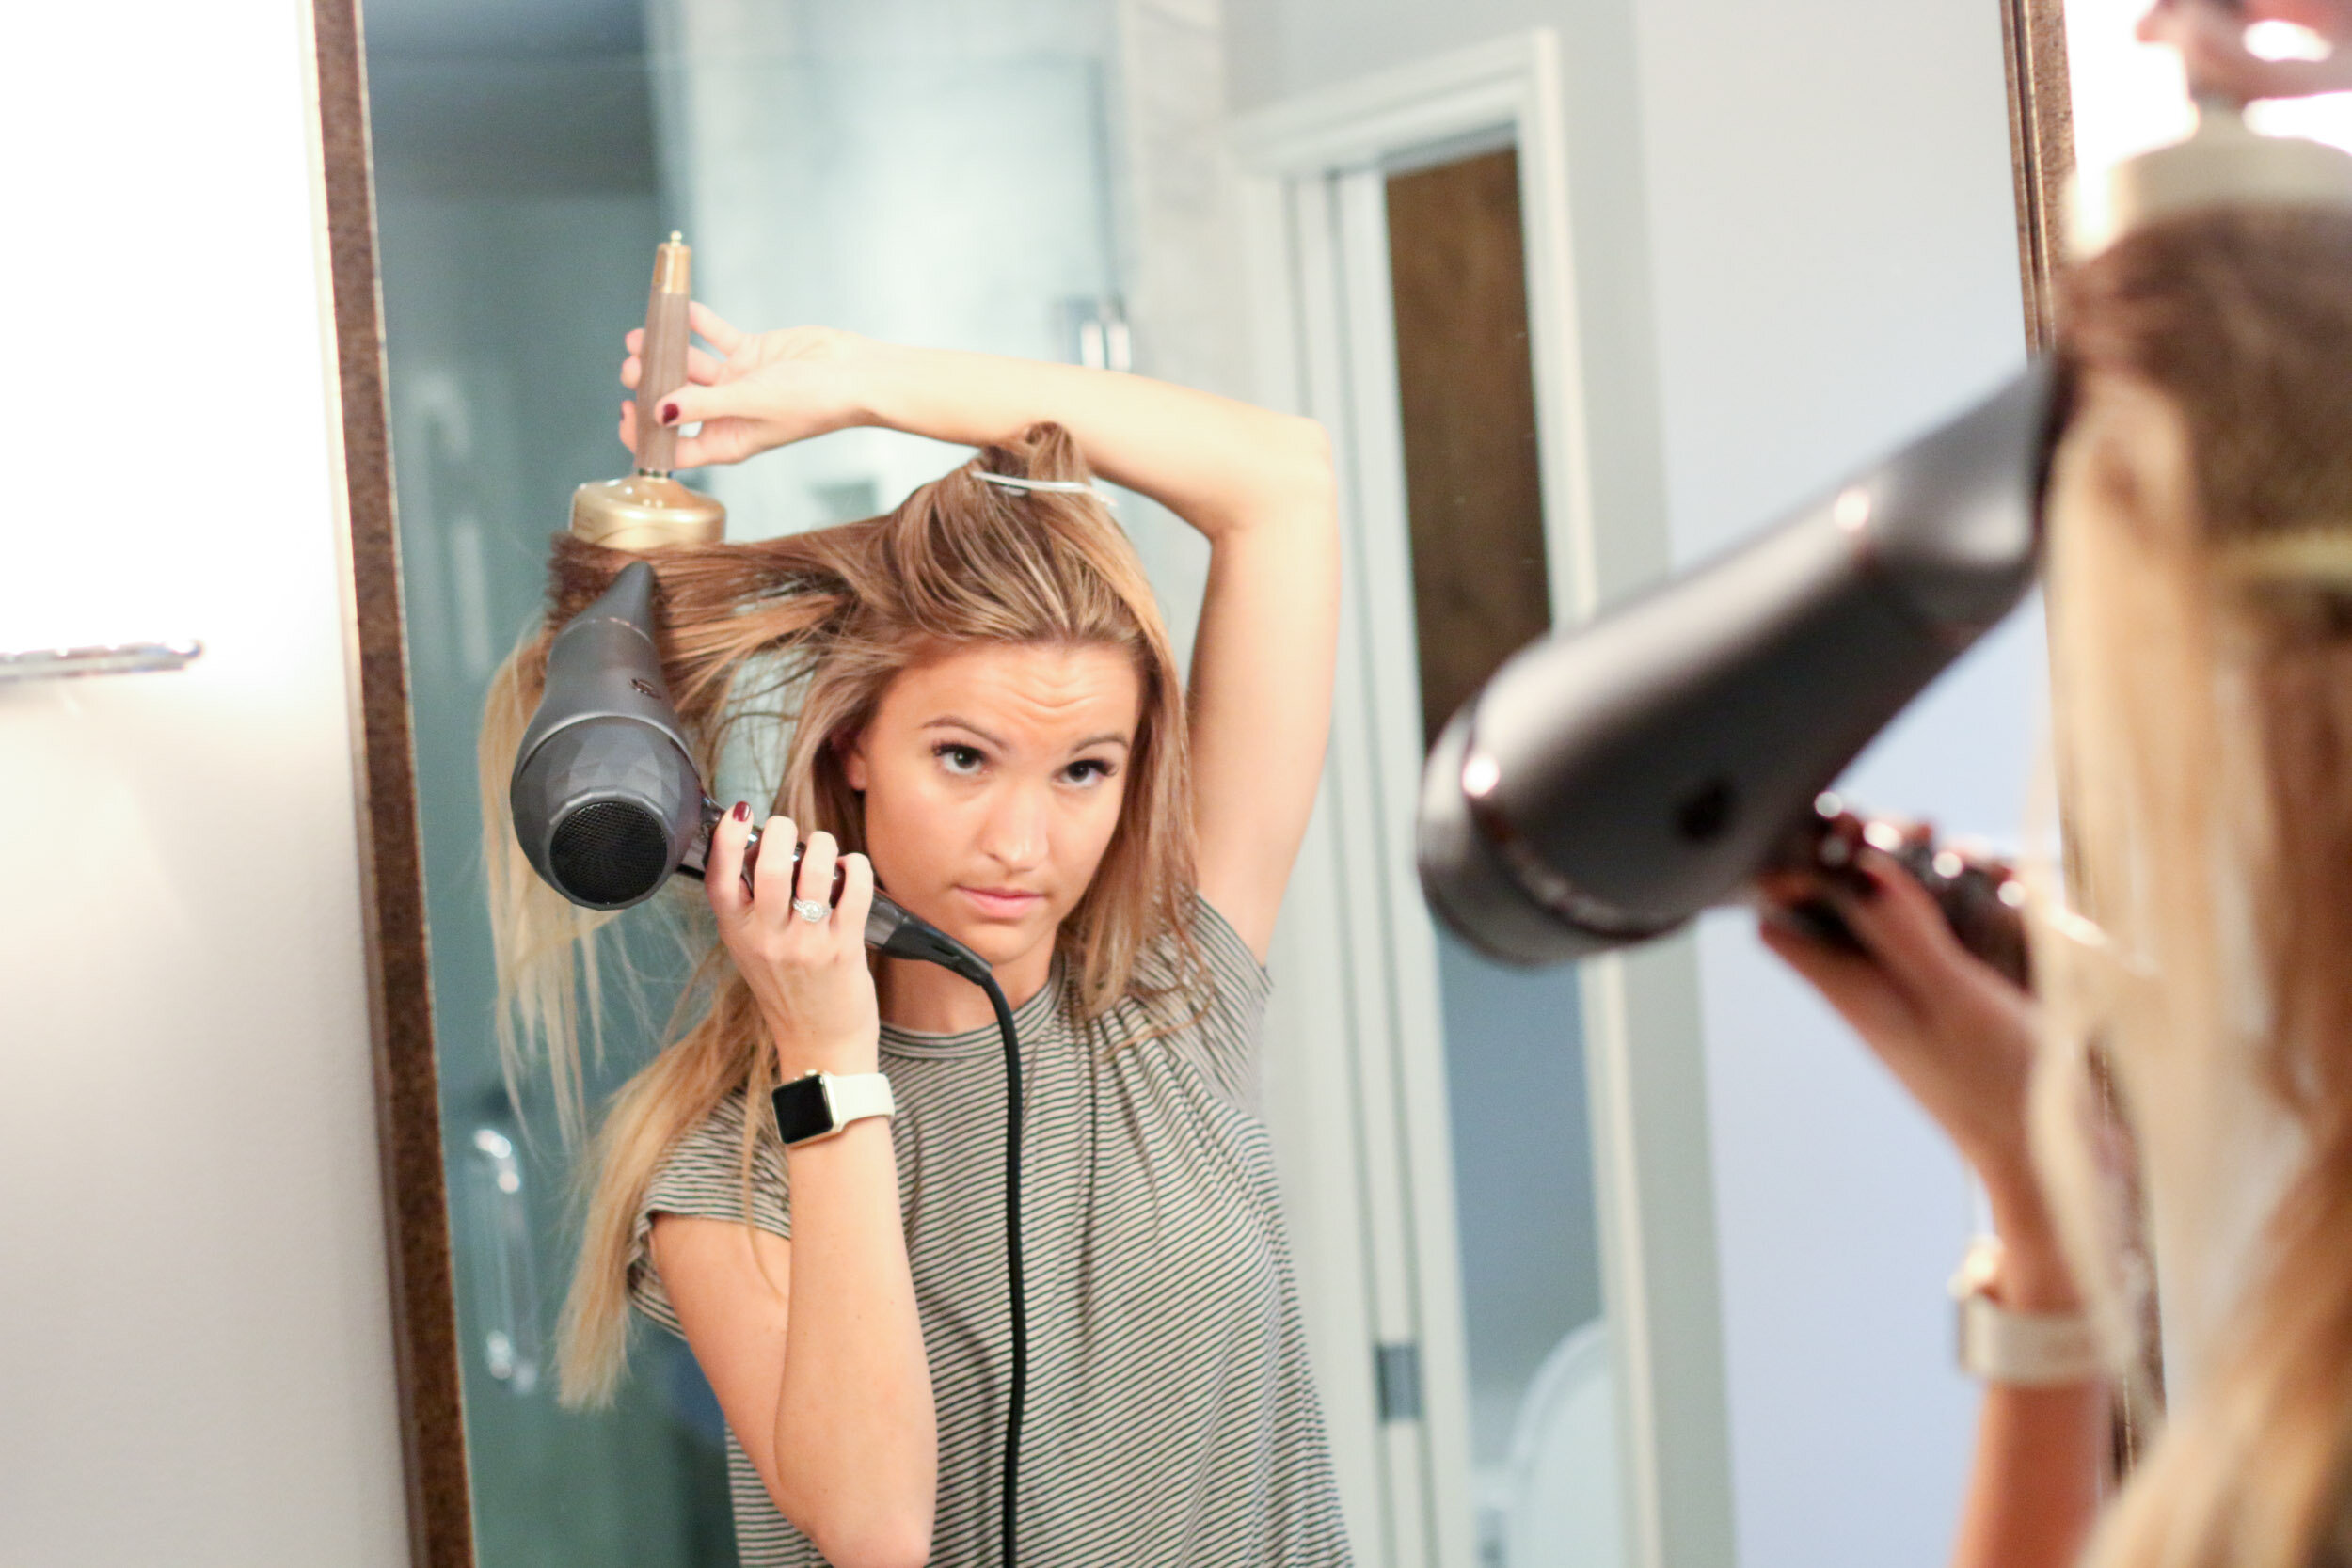
 Let down the next 1/3 of your hair, leaving only your bangs and very top layer of your hair clipped up. Blow dry this section with a round brush, focusing on your roots, to get some good lift.


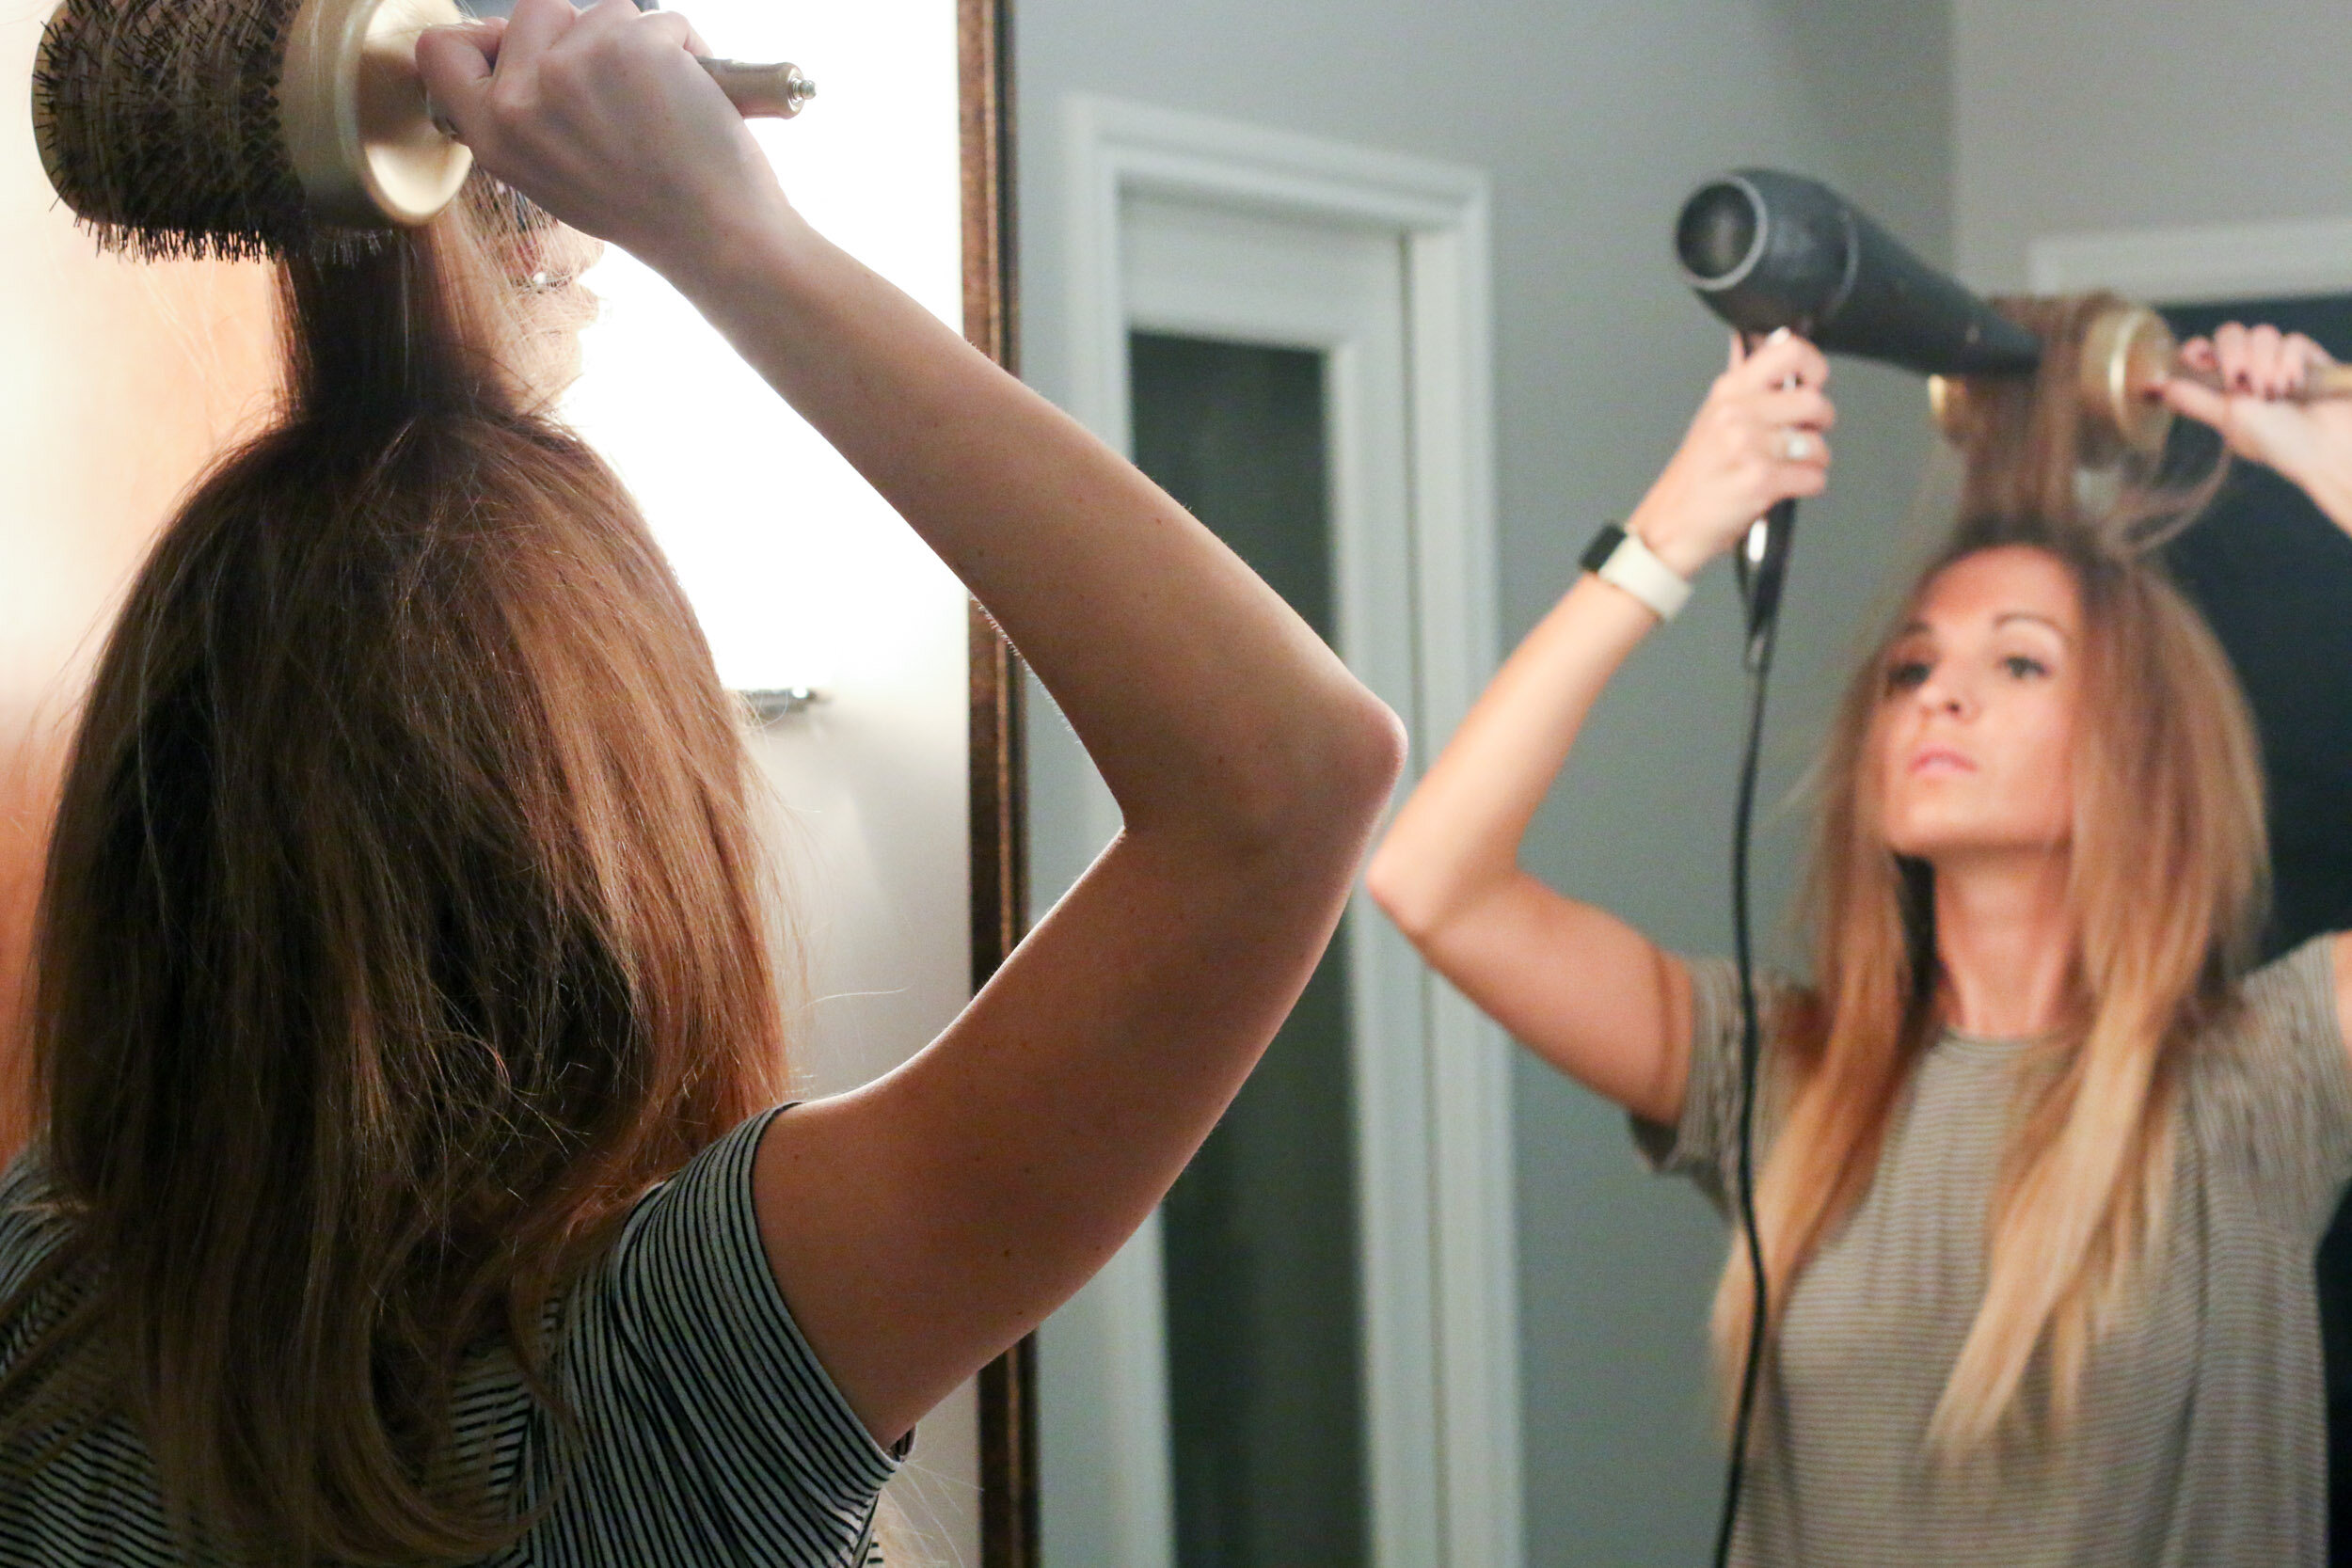 Now let the very top section of your hair down and blow dry your bangs first. If you don't have bangs, or have awkwardly long ones like me, I like to blow dry mine back away from my face. But, using the round brush, you should pretty much blow dry them in every direction to avoid any kind of cowlick! You can use the blow dryer to help you round brush by putting the dryer underneath the section you are round brushing (see photos above).


 After you're done round brushing each section, go back through just with your hands and the dryer to make sure everything is dry, and there are no damp spots left. What I love about this round brush is that it makes your hair super smooth and straight, without having to use a flat iron.Hope this helps with any hair drying questions you might have had! Feel free to ask any questions in the comments if I didn't explain anything correctly! And I highly encourage you to try out the T3 hair dryer. In my opinion, it truly is the best hair dryer out there. This specific T3 hair dryer (the PROi) is only available at Sephora, but you can find more T3 products here! xx
Shop the post:
[show_shopthepost_widget id="1151256"]
Dutch Braid: How-To
Most girls have their "go-to" hair style for any date night or party. Mine is always just down with big curls, hair spray, and lots of volume (basic Dallas girl, I know). I'm so excited to share with you though a new idea for any holiday or new years party you have coming up! I love a good braid and Tracy Melton has showed us step-by-step how to do an adorable half up dutch braid. Start by spritzing your hair with a sea salt spray to get a good beach wave going. From there you’ll curl your hair from the bottom up to the crown with a curling wand. Run your hands through it to loosen up the waves.


 Next, part your hair on the side. Take about a two inch section of hair from your forehead back. Begin your Dutch braid. *For those of you who don’t know what a Dutch braid is, it’s like an inside-out French braid. Same steps as a French braid but you go underneath with your strands instead of over*
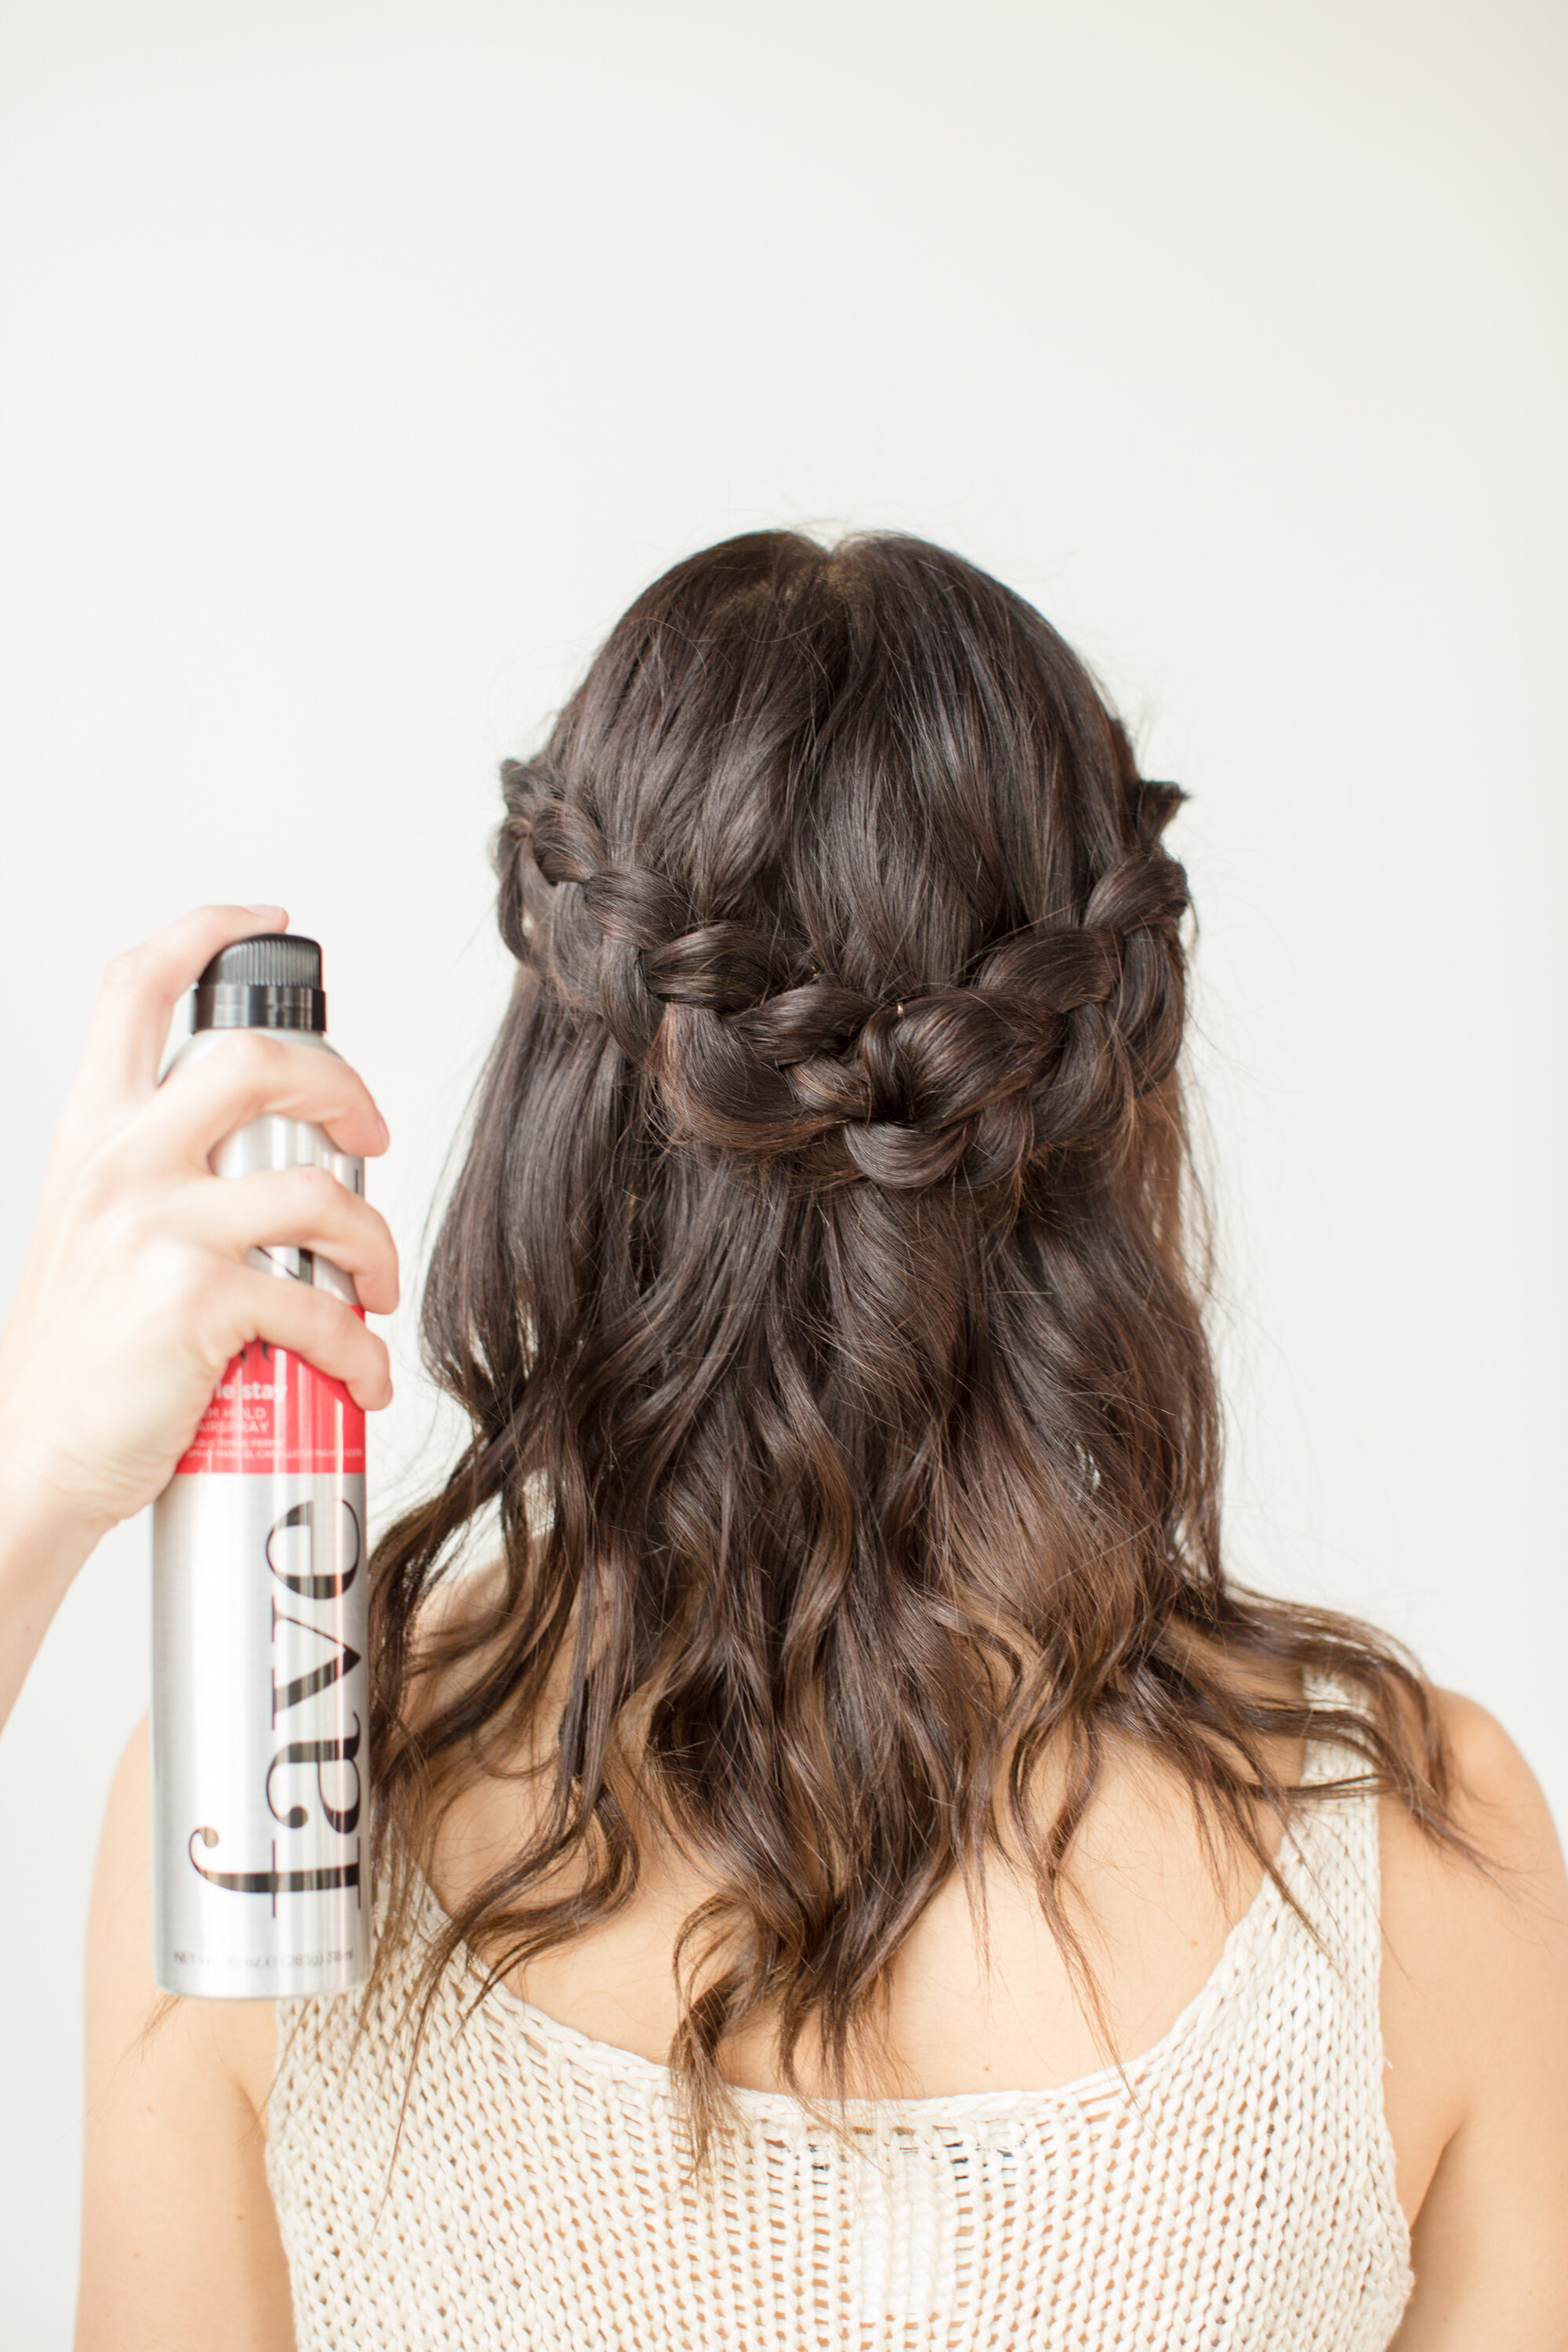
 Once you have two braids complete, here comes the fun part! The trick to get larger, fuller braids is to gently pull them out. You’ll take each braid and give it a nice tug in order to make your braid look ‘large and in charge’.From there, criss-cross the braids in the back and tuck the ends under. Hold them in place with bobby pins. Finish off with hair spray and you’re set!


Top Knot || How To
Ladies and gentlemen (well, probably just ladies but you never know). I am SO excited to feature Tracy Melton on today's post! Tracy did my hair and make-up for my wedding day and is incredibly gifted. In addition to that, she's just the cutest thing you'll ever meet!Lots of girls have asked me how to do a good top-knot. The ones I do on my own are always super messy and fall down, so Tracy here has created a step-by-step tutorial (pictures included!) to teach you all how to get the perfect top-knot. Enjoy!


Here's Tracy's step-by-step instructions!
Start by gathering your hair into a high ponytail at the crown and securing it with a hair band.
Once secured, take a comb and give your mane a tease. Teasing is an important step if you have fine or thin hair – helps to bulk it up and give it some grip.From there, simply twist the teased ponytail (loosely) to help form the shape.Continue by wrapping the twisted hair around the base of the hair band creating the bun shape.Secure in place with bobby pins. Don’t be scared to tug at the bun to get it to the desired height and shape. Tuck in any strays and finish off with hair spray. You’re all set!Tip: To make this look more messy and lived-in, take the palms of your hands and rub them on your temples and near your ears to loosen up more face framing hairs. You can also pull on your bun to make it more textured.
Shop the post!
[show_shopthepost_widget id="460428"]Photos by: Kristen Dee Photography
Video for Beachy Waves: How To Curl Your Hair with a Straightener
For years upon years, my attempt at beachy waves always concluded in a failure of ringlet curls. The end to this insanity cycle (yes, I kept repeating this over again hoping to achieve different results) came when my awesome college roomie taught me these simple steps to curl my hair with a straightener. Talk about a game changer! The major plus: no hair spray needed, and it doesn't fall.Watch on for this beauty secret play by play.Tip to remember: don't clamp the straightener too tightly. Keep it loose, and let it flow through your hair. Comment below if you have any questions!Video by Trolley House Productions


